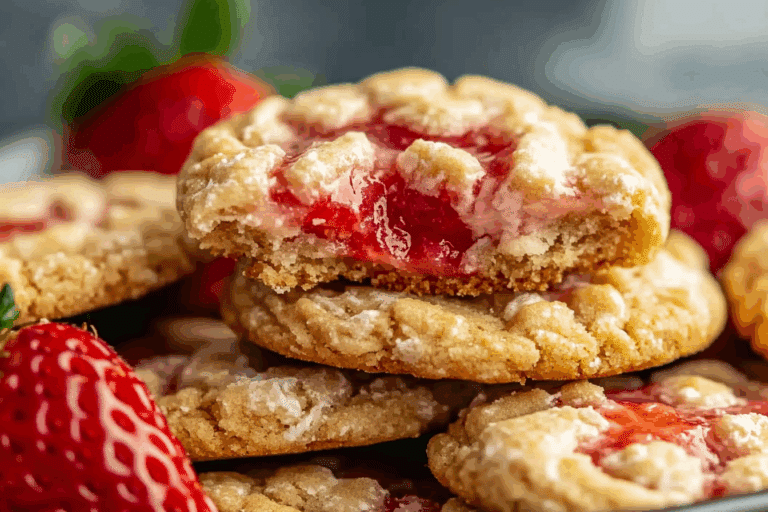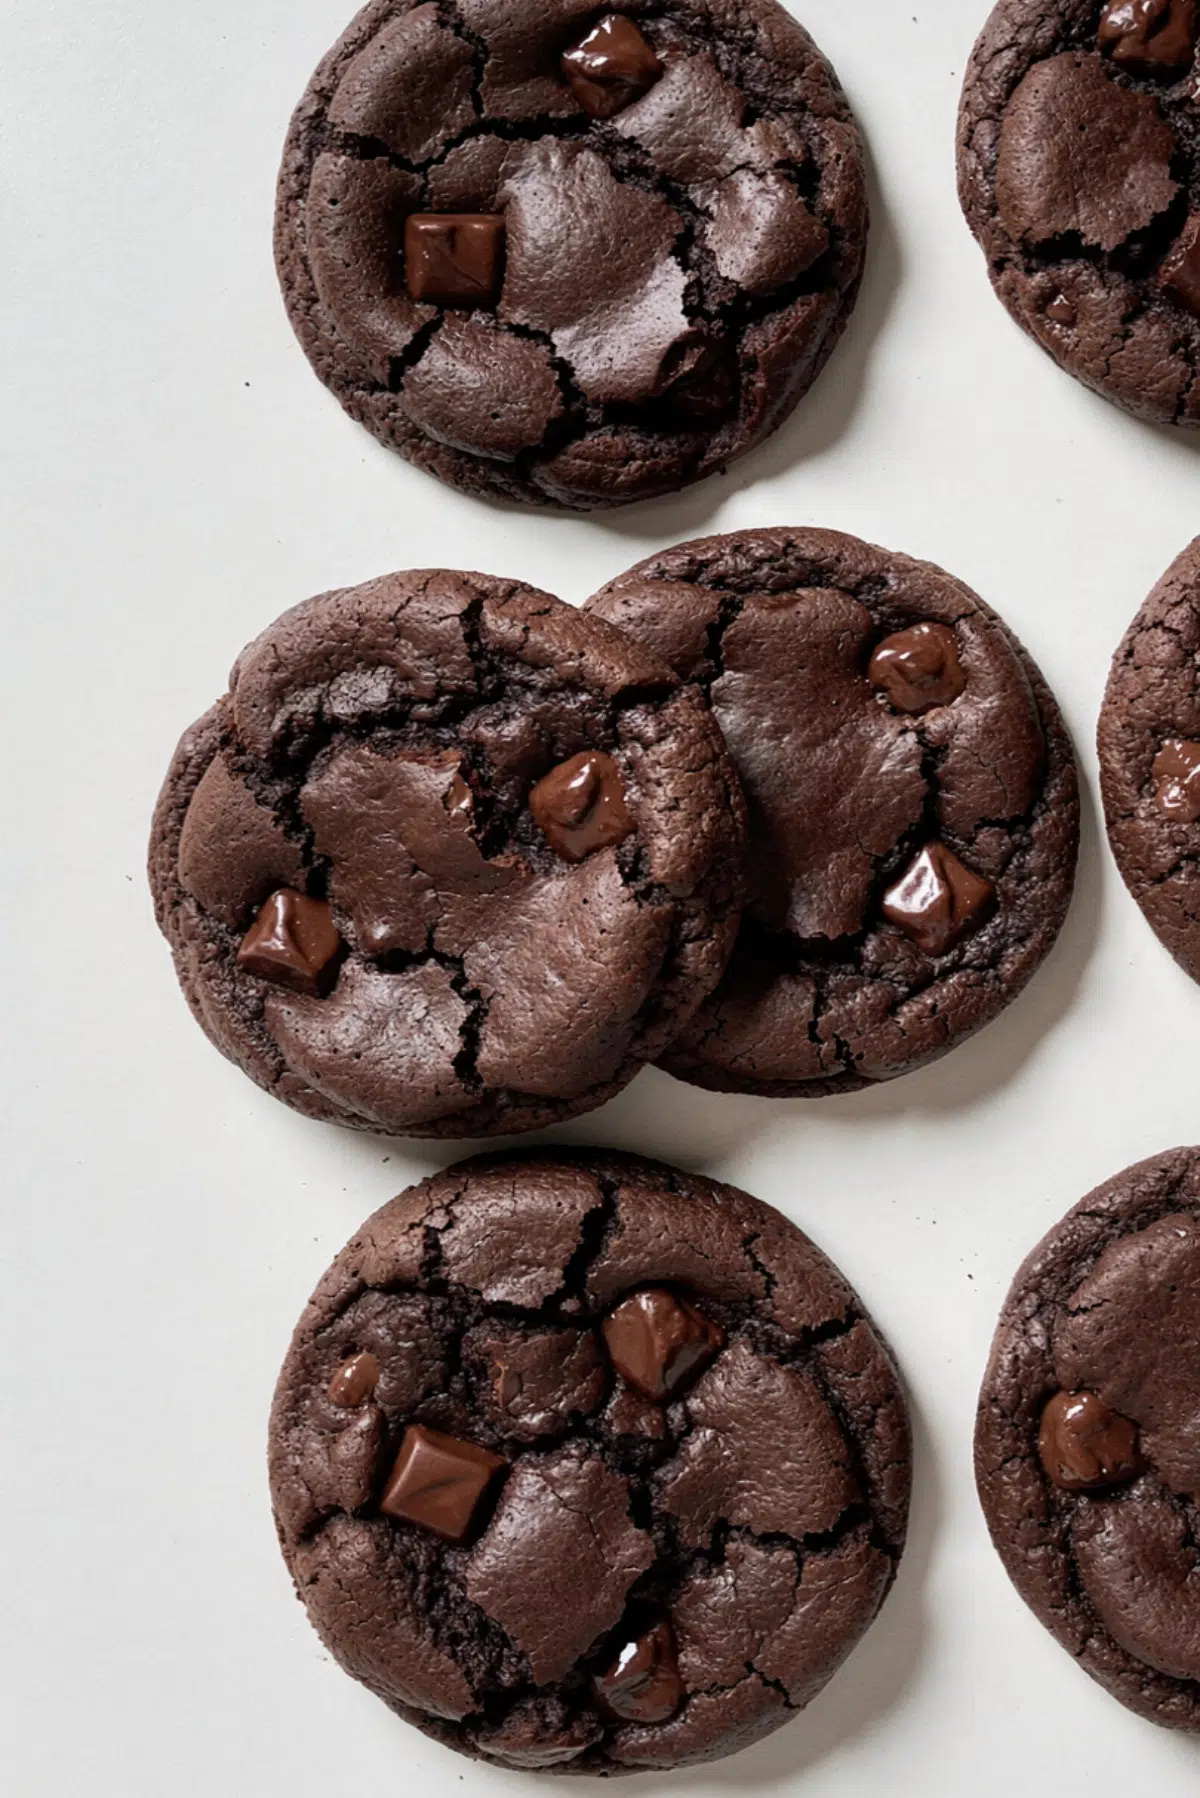
Choco Brownie Cookies
There is something magical about biting into a cookie that feels like a brownie in disguise. The moment your teeth sink into that soft, fudgy center, with a slightly crisp edge giving way to melted chocolate pockets, you just know you made the right choice. These choco brownie cookies bring that rich, indulgent experience straight to your kitchen, and trust me, you’re going to love this.
Why These Cookies Feel Like Pure Chocolate Bliss
It all starts with that deep chocolate aroma filling your kitchen, slowly building as they bake. These cookies are not your average treat. They carry the richness of brownies with the convenience of cookies, which makes them dangerously irresistible. Each bite delivers a soft, chewy center with just the right amount of structure on the outside, creating that perfect balance that keeps you reaching for one more.
A Little Story Behind This Chocolate Favorite
Chocolate desserts have always been at the heart of comfort baking, especially in American kitchens where brownies became a staple in the early 20th century. Over time, creative bakers began blending textures and formats, which led to creations like these cookies. They capture the soul of a brownie but in a smaller, handheld form, making them perfect for sharing or, honestly, keeping all to yourself.
What Makes This Recipe So Reliable and Loved
Before we dive into mixing and baking, let me tell you why this one is a total game changer.
Versatile: You can enjoy these warm, cold, or even with a scoop of ice cream, and they shine every time.
Budget-Friendly: Simple pantry ingredients come together to create something that feels bakery-level.
Quick and Easy: No complicated steps, just a smooth flow from mixing to baking.
Customizable: Add nuts, swap chocolate types, or tweak sweetness to match your taste.
Crowd-Pleasing: These disappear fast at gatherings, so maybe make a double batch.
Make-Ahead Friendly: The dough can rest in the fridge until you are ready to bake.
Great for Leftovers: They stay soft and delicious even the next day, if they last that long.
Pro Tips to Nail That Perfect Texture
Now that you are excited, let’s make sure you get that dreamy result every time.
- Use room temperature eggs, they blend more smoothly into the batter.
- Do not overmix once the flour is added, it keeps the cookies soft.
- Chill the dough for at least 20 minutes if it feels too sticky.
- Slightly underbake for a gooier center, they continue to set as they cool.
Kitchen Tools That Make Things Easier
As we move forward, having the right tools really helps keep things smooth.
Mixing Bowl: A large bowl gives you enough space to combine everything easily.
Whisk: Helps create a smooth, lump-free mixture.
Spatula: Perfect for folding ingredients gently.
Baking Sheet: A flat, sturdy tray ensures even baking.
Parchment Paper: Prevents sticking and makes cleanup simple.
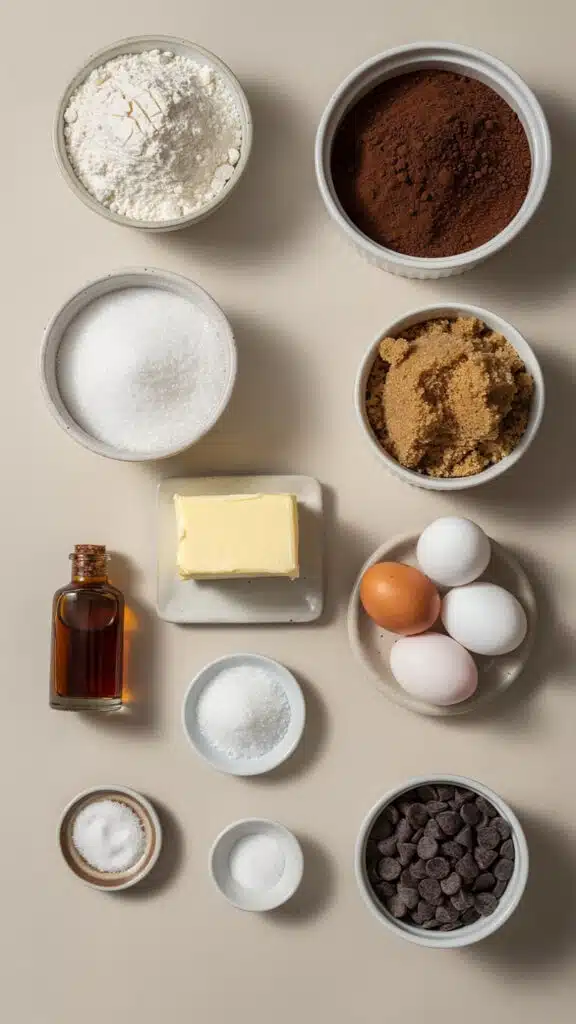
Ingredients That Build the Magic
Now let’s take a look at what brings these cookies to life. Each ingredient plays its own role in creating that rich, fudgy texture.
- All-Purpose Flour: 1 cup, gives structure without making the cookies dense.
- Unsweetened Cocoa Powder: 1/3 cup, adds deep chocolate flavor.
- Granulated Sugar: 1/2 cup, balances sweetness and texture.
- Brown Sugar: 1/2 cup, adds moisture and a slight caramel note.
- Butter: 1/2 cup, melted, creates richness and that soft bite.
- Eggs: 2 large, help bind everything together.
- Vanilla Extract: 1 teaspoon, enhances the chocolate flavor.
- Baking Powder: 1/2 teaspoon, gives a slight lift.
- Salt: 1/4 teaspoon, balances sweetness.
- Dark Chocolate Chips: 3/4 cup, for gooey chocolate pockets.
Simple Swaps You Can Try
Sometimes you want to tweak things a bit, and that works beautifully here.
Butter: Use coconut oil for a slightly different flavor.
Dark Chocolate Chips: Swap with milk chocolate or white chocolate.
All-Purpose Flour: Try a gluten free blend if needed.
Spotlight on Key Ingredients
A couple of ingredients really define the personality of these cookies.
Cocoa Powder: This is where the deep, rich flavor comes from, so go for a good quality one.
Dark Chocolate Chips: They melt into pockets of pure indulgence, making each bite unforgettable.
Let’s Bake These Together
And now let’s dive into the fun part, bringing everything together step by step.
- Preheat Your Equipment: Set your oven to 180°C and line a baking sheet with parchment paper.
- Combine Ingredients: In a bowl, whisk melted butter, granulated sugar, and brown sugar until smooth, then add eggs and vanilla extract.
- Prepare Your Cooking Vessel: In another bowl, mix flour, cocoa powder, baking powder, and salt.
- Assemble the Dish: Fold the dry ingredients into the wet mixture, then gently stir in chocolate chips.
- Cook to Perfection: Scoop dough onto the baking sheet and bake for 10 to 12 minutes.
- Finishing Touches: Let them cool slightly so the centers set while staying soft.
- Serve and Enjoy: Enjoy warm for the ultimate gooey experience.
That Perfect Texture and Flavor Balance
What makes these cookies unforgettable is the contrast. The edges are slightly crisp, giving way to a soft, fudgy center that melts in your mouth. The cocoa brings a deep, almost intense chocolate flavor, while the melted chips add bursts of sweetness that round everything out beautifully.
Helpful Tips for Even Better Results
As you continue baking, these little tips can make a big difference.
- Chill the dough if it feels too soft.
- Use a cookie scoop for even sizes.
- Do not overcrowd the baking sheet.
What to Watch Out For While Baking
Even simple recipes have a few traps, so here is what to avoid.
- Overbaking, which makes them dry instead of fudgy.
- Skipping parchment paper, which can cause sticking.
- Using too much flour, which changes the texture.
Nutrition Snapshot
Servings: 12 cookies
Calories per serving: 210
Note: These are approximate values.
Time Breakdown
Prep Time: 15 minutes
Cook Time: 12 minutes
Total Time: 27 minutes
Make-Ahead and Storage Tips
If you want to plan ahead, the dough can be stored in the fridge for up to two days. Baked cookies stay fresh in an airtight container for about three days. You can also freeze the dough balls and bake them straight from frozen, just add a couple of extra minutes.
Serving Ideas That Make Them Shine
Serve these warm with a glass of milk, or pair them with vanilla ice cream for a dessert that feels extra special. They also work beautifully as part of a dessert platter.
Turning Leftovers Into Something New
If you somehow have leftovers, crumble them over yogurt or ice cream. You can even turn them into a base for a quick dessert parfait.
Extra Tips for the Best Experience
Keep your ingredients fresh, especially the cocoa powder, since it carries most of the flavor. Also, measuring carefully helps maintain that perfect texture.
Make Them Look Bakery-Worthy
For a polished finish, press a few extra chocolate chips on top before baking. It gives that irresistible, professional look.
Fun Variations to Explore
Try adding chopped nuts for crunch, or swirl in a bit of peanut butter for a richer twist. A pinch of espresso powder can also deepen the chocolate flavor beautifully.
FAQ’s
Q1: Can I make the dough ahead of time?
Yes, it can stay in the fridge for up to two days.
Q2: Why are my cookies too flat?
The butter may be too warm or the dough not chilled.
Q3: Can I freeze baked cookies?
Yes, store them in an airtight container for up to a month.
Q4: How do I keep them soft?
Store them with a slice of bread to retain moisture.
Q5: Can I reduce the sugar?
You can slightly reduce it, but it will affect texture.
Q6: What type of cocoa works best?
Unsweetened cocoa powder gives the best balance.
Q7: Can I add nuts?
Absolutely, walnuts or pecans work great.
Q8: Why are they dry?
They may have been overbaked.
Q9: Can I use milk chocolate instead?
Yes, for a sweeter result.
Q10: Do they spread a lot?
They spread slightly but keep a thick shape.
Conclusion
These cookies bring together everything we love about chocolate desserts in one simple, irresistible bite. Soft, rich, and packed with flavor, they are the kind of treat that quickly becomes a favorite. Let me tell you, it’s worth every bite, and once you try them, you will keep coming back for more.
Print
Choco Brownie Cookies
- Prep Time: 15 minutes
- Cook Time: 12 minutes
- Total Time: 27 minutes
- Yield: 12 cookies 1x
- Category: Dessert
- Method: Baking
- Cuisine: American
- Diet: Vegetarian
Description
Rich and fudgy chocolate cookies with a brownie-like center, crisp edges, and gooey chocolate chips in every bite.
Ingredients
- 1 cup all-purpose flour
- 1/3 cup unsweetened cocoa powder
- 1/2 cup granulated sugar
- 1/2 cup brown sugar
- 1/2 cup butter, melted
- 2 large eggs
- 1 teaspoon vanilla extract
- 1/2 teaspoon baking powder
- 1/4 teaspoon salt
- 3/4 cup dark chocolate chips
Instructions
- Preheat oven to 180°C and line a baking sheet with parchment paper.
- In a bowl, whisk melted butter, granulated sugar, and brown sugar until smooth, then add eggs and vanilla extract and mix well.
- In another bowl, combine flour, cocoa powder, baking powder, and salt.
- Fold the dry ingredients into the wet mixture until just combined, then stir in the chocolate chips.
- Scoop dough onto the prepared baking sheet, spacing evenly.
- Bake for 10 to 12 minutes until edges are set but centers remain soft.
- Allow cookies to cool slightly before serving.
Notes
- Chill the dough if it feels too soft before baking.
- Do not overbake to keep the center fudgy.
- Use a cookie scoop for evenly sized cookies.
Nutrition
- Serving Size: 1 cookie
- Calories: 210
- Sugar: 18g
- Sodium: 95mg
- Fat: 11g
- Saturated Fat: 6g
- Unsaturated Fat: 4g
- Trans Fat: 0g
- Carbohydrates: 26g
- Fiber: 2g
- Protein: 3g
- Cholesterol: 40mg
Keywords: choco brownie cookies, chocolate cookies, fudgy cookies, brownie cookies, easy dessert