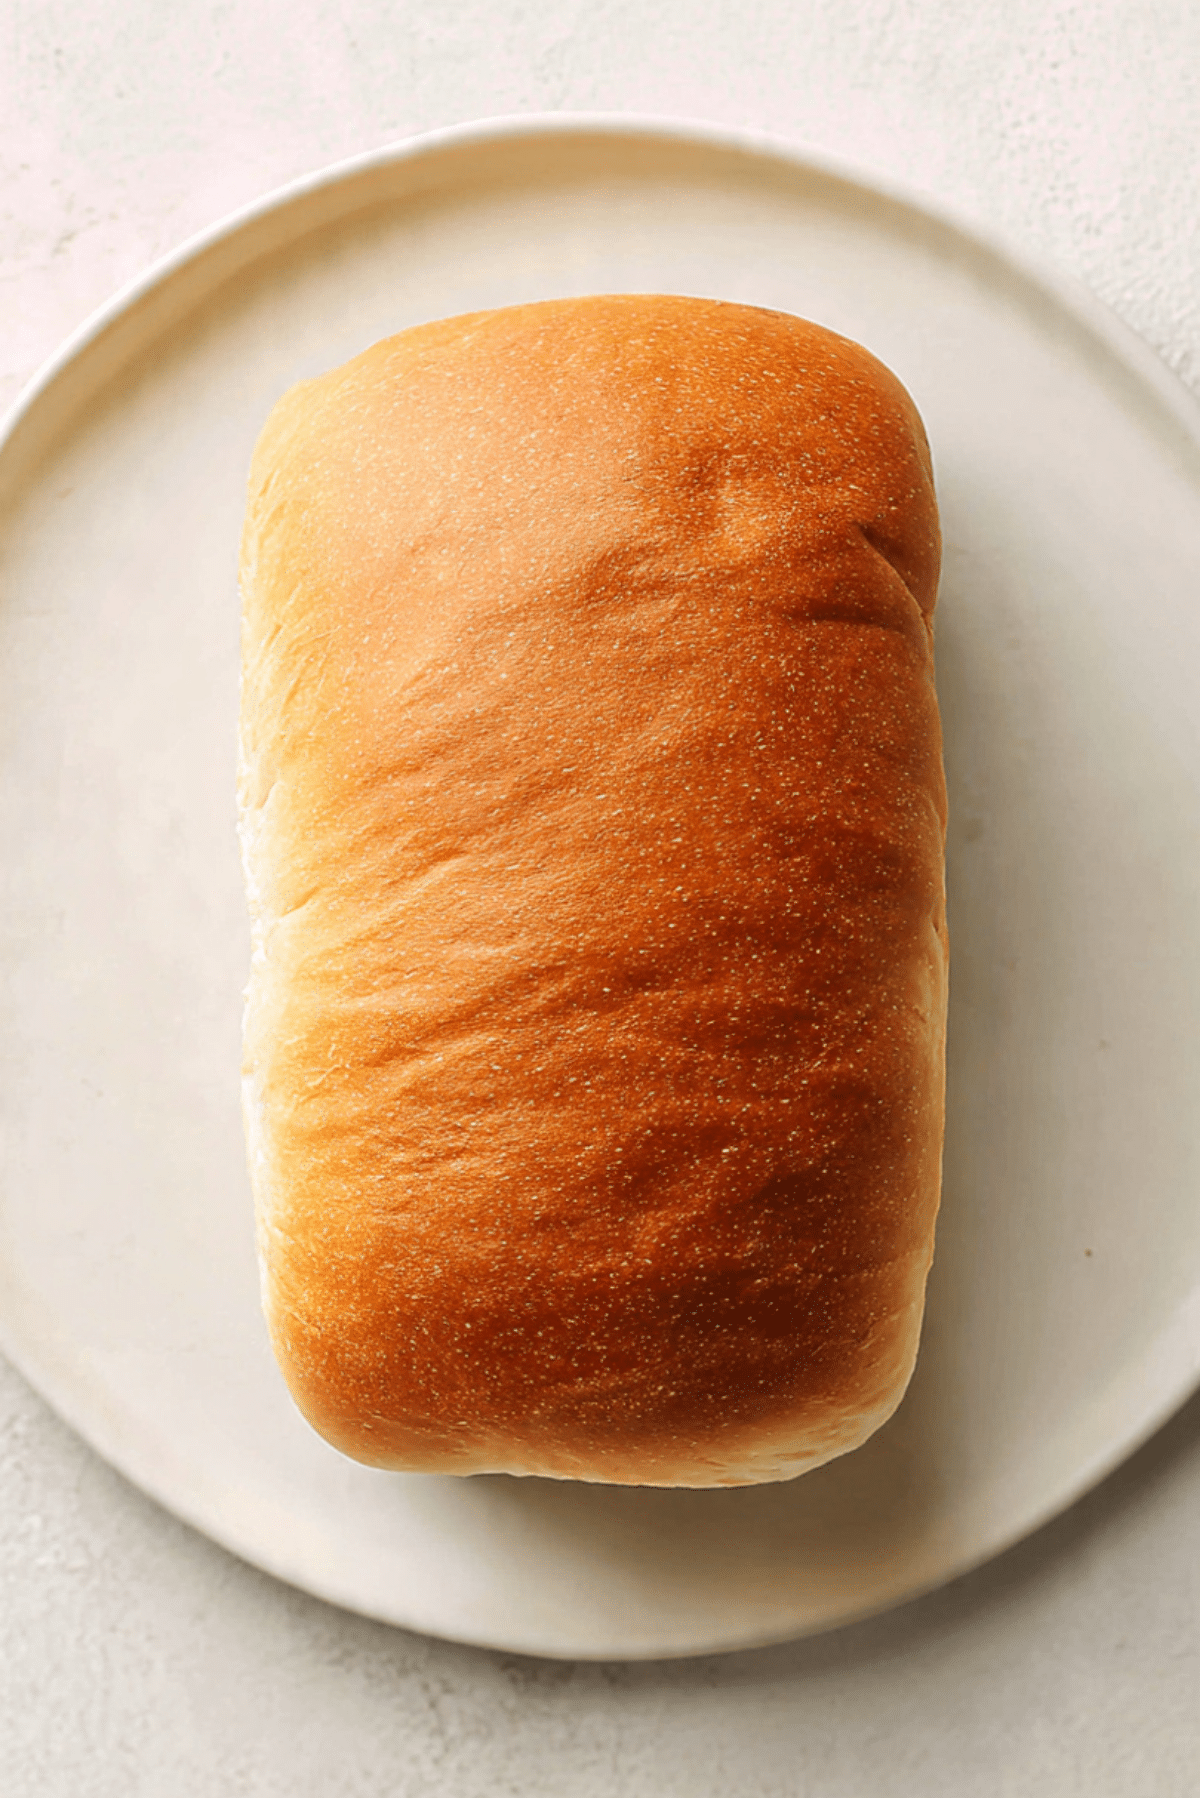
Soft Sourdough Sandwich Bread
There is something quietly magical about baking a loaf that feels both rustic and soft enough for everyday sandwiches. This one brings that perfect balance, a gentle tang from the sourdough starter and a pillowy crumb that slices like a dream. The aroma alone will fill your kitchen with warmth, and trust me, you’re going to love this.
Why This Loaf Feels Like a Warm Hug in Every Slice
As we move from that first smell of fresh bread, what really makes this loaf special is how soft and flexible it is. It is not crusty in a tough way, but instead tender and inviting, perfect for toast in the morning or a simple sandwich at lunch. This one’s a total game-changer if you thought sourdough had to be chewy and dense.
A Little Story Behind This Everyday Favorite
Now let’s take a step back and appreciate where this style comes from. Traditional sourdough has been around for centuries, known for its bold flavor and crusty texture. Over time, bakers began adapting it for everyday use, especially for sandwich loaves. By adding milk and butter, the texture transforms into something softer and more approachable, while still keeping that signature tang.
Why This Recipe Works Every Time
Before we dive into the details, let me tell you why this loaf is one you will come back to again and again.
Versatile: It fits breakfast, lunch, or even a late-night snack, whether toasted or fresh.
Budget-Friendly: Simple pantry ingredients come together to create something truly special.
Quick and Easy: Compared to traditional sourdough, this version is more forgiving and manageable.
Customizable: You can adjust sweetness, softness, or even add seeds for variety.
Crowd-Pleasing: Everyone loves a soft, sliceable loaf, especially when it is homemade.
Make-Ahead Friendly: The dough can rest overnight, making your schedule easier.
Great for Leftovers: It stays soft and fresh for days, perfect for multiple uses.
Secrets from the Kitchen That Make All the Difference
Now let’s dive into a few insider tricks that elevate your loaf from good to unforgettable.
- Let your starter peak before using it for the best rise
- Warm milk helps create a softer crumb and better fermentation
- Do not rush the proofing, patience builds flavor
- A light brush of butter after baking keeps the crust soft
Tools That Make Baking This Bread Easier
And now, before we get our hands into the dough, here are the tools that will help everything go smoothly.
Mixing Bowl: Large enough to allow the dough to expand comfortably.
Loaf Pan: Helps shape the bread into that classic sandwich form.
Dough Scraper: Makes handling sticky dough much easier.
Kitchen Scale: Ensures accurate measurements for consistent results.
Clean Towel or Cover: Keeps the dough protected while it rises.
Ingredients That Come Together Beautifully
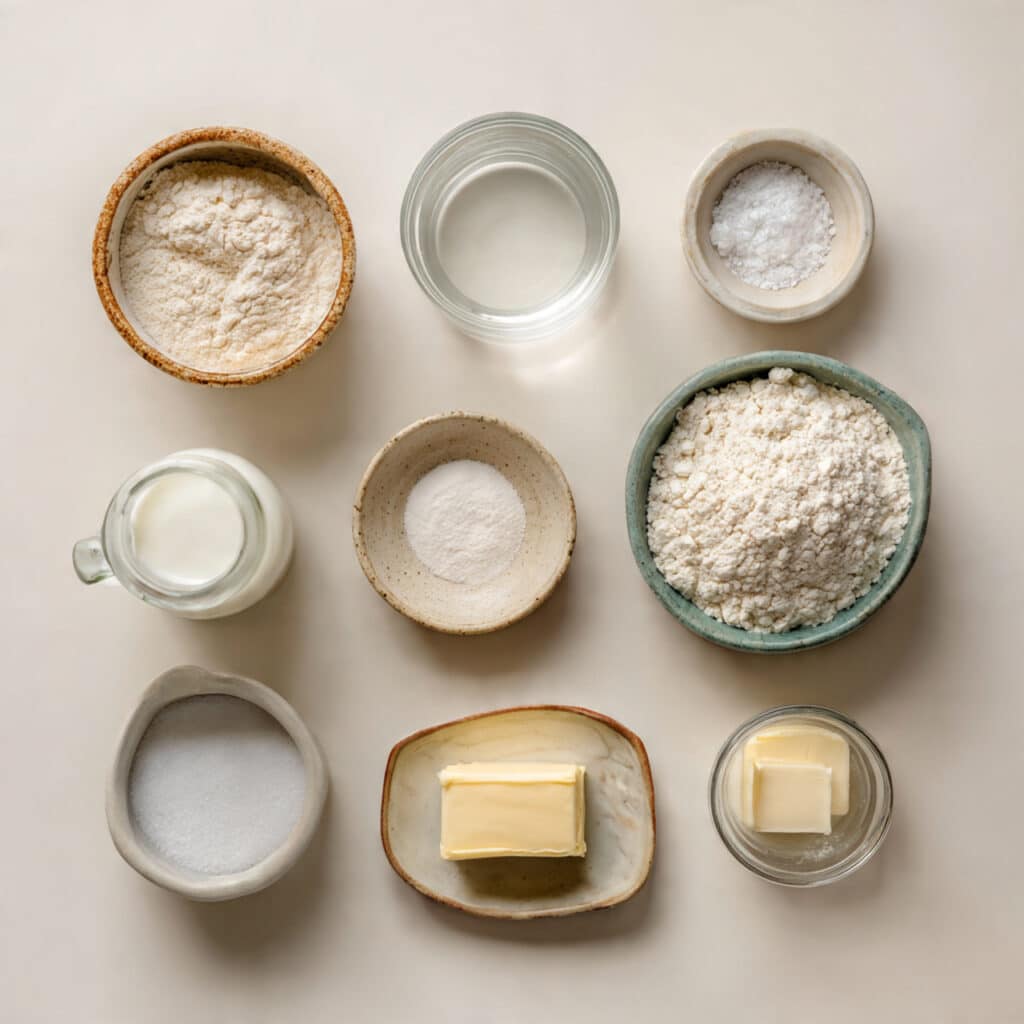
Now let’s talk about the ingredients, each one playing its own role in building flavor and texture.
- Bread Flour: 3 ½ cups, provides structure and chew while keeping softness
- Active Sourdough Starter: ½ cup, brings flavor and natural leavening
- Warm Water: ½ cup, hydrates the dough and activates fermentation
- Whole Milk: ½ cup, adds richness and soft texture
- Sugar: 2 tablespoons, balances the tang and feeds the yeast
- Salt: 1 ½ teaspoons, enhances flavor and controls fermentation
- Unsalted Butter: 3 tablespoons, softened, gives tenderness and moisture
Flexible Swaps If You Need Them
And if you want to tweak things a bit, here are some easy substitutions.
Bread Flour: All-purpose flour works, though texture will be slightly softer
Whole Milk: Plant-based milk can be used for a lighter version
Butter: Olive oil can replace it for a different flavor profile
Sugar: Honey or maple syrup adds a deeper sweetness
The Star Ingredients That Steal the Show
Let’s pause for a moment and highlight what really makes this bread shine.
Sourdough Starter: This is the heart of the loaf, giving it that subtle tang and natural rise.
Whole Milk: It transforms the crumb into something soft and almost melt-in-your-mouth.
Let’s Bake This Beautiful Loaf Together
And now let’s dive into the process, step by step, just like we are baking side by side.
- Preheat Your Equipment: Lightly grease a loaf pan and prepare a warm spot for proofing.
- Combine Ingredients: In a large bowl, mix sourdough starter, warm water, milk, sugar, and butter until smooth, then add flour and salt to form a soft dough.
- Prepare Your Cooking Vessel: Transfer the dough onto a lightly floured surface and knead until smooth and elastic.
- Assemble the Dish: Shape the dough into a loaf and place it gently into the greased pan.
- Cook to Perfection: Let it rise until doubled, then bake at 375°F (190°C) for 30 minutes until golden.
- Finishing Touches: Brush the top with butter while warm for a soft crust.
- Serve and Enjoy: Let it cool slightly before slicing and enjoy the soft, airy texture.
The Texture and Flavor You Will Fall in Love With
As the loaf bakes, the crust turns lightly golden while the inside stays incredibly soft. The crumb is tender, slightly airy, and just a bit chewy in the best way. The flavor balances a mild tang with a gentle sweetness, making each bite comforting and satisfying.
Tips That Make This Even Better
If you want to perfect your loaf, these little tips will help a lot.
- Use room temperature ingredients for smoother mixing
- Avoid over-kneading, the dough should stay soft
- Let the bread cool before slicing to keep the texture intact
What to Watch Out For While Baking
Even simple recipes have their tricky moments, so here are a few things to keep in mind.
- Dough too sticky, add a little flour gradually
- Dense loaf, check that your starter is active
- Overbaking, watch the crust color closely
Nutrition Snapshot You Should Know
Servings: 10
Calories per serving: 180
Note: These are approximate values.
Time Breakdown for Easy Planning
Prep Time: 20 minutes
Cook Time: 30 minutes
Total Time: 50 minutes
Make Ahead and Storage Tips for Busy Days
Once you have baked your loaf, you will want to keep it fresh as long as possible. Store it in an airtight container at room temperature for up to 3 days. You can also slice and freeze it, then toast slices directly from frozen for a quick treat.
Serving Ideas That Make It Shine
This bread is perfect with butter and jam, stacked into sandwiches, or even turned into golden toast. It pairs beautifully with soups, salads, or a simple drizzle of honey.
Creative Ways to Use Leftovers
If you have extra slices, do not let them go to waste.
Turn them into French toast, make crispy croutons, or even use them for bread pudding. Each option brings out a new side of the loaf.
Extra Tips to Elevate Every Bake
Try brushing the dough with milk before baking for a softer crust. A sprinkle of seeds on top can add texture and flavor without changing the softness inside.
Make It Look Bakery Worthy
For a beautiful finish, score the top lightly before baking. Once baked, let it cool on a rack so the crust stays just right and the loaf keeps its shape.
Variations to Keep Things Interesting
Add seeds like sesame or sunflower for crunch
Mix in herbs for a savory twist
Use honey instead of sugar for a richer flavor
Add a swirl of cinnamon and sugar for a sweet version
FAQ’s
1. Can I use all-purpose flour instead of bread flour?
Yes, but the texture will be slightly less chewy and structured.
2. How do I know my starter is ready?
It should be bubbly, active, and doubled in size.
3. Can I make this without milk?
Yes, water or plant-based milk works well.
4. Why is my bread dense?
Most likely the starter was not active enough or the dough did not rise fully.
5. Can I let it rise overnight?
Yes, a slow overnight rise improves flavor.
6. How do I get a softer crust?
Brush with butter right after baking.
7. Can I double the recipe?
Absolutely, just adjust your pan size accordingly.
8. How do I store leftovers?
Keep in an airtight container at room temperature.
9. Can I freeze the dough?
Yes, after the first rise, then thaw and bake.
10. What makes this different from regular sourdough?
It is softer, slightly sweeter, and more suited for sandwiches.
Conclusion
And there you have it, a loaf that feels both comforting and special at the same time. From the soft crumb to the gentle tang, every slice tells a story of patience and simple ingredients coming together beautifully. Let me tell you, it’s worth every bite, and once you try it, you might never go back to store-bought bread.
Print
Soft Sourdough Sandwich Bread
- Prep Time: 20 minutes
- Cook Time: 30 minutes
- Total Time: 50 minutes
- Yield: 10 servings 1x
- Category: Bread
- Method: Baking
- Cuisine: American
- Diet: Vegetarian
Description
A soft and fluffy sourdough sandwich bread with a light tang, enriched with milk and butter for a tender crumb and perfect slices.
Ingredients
- 3 1/2 cups bread flour
- 1/2 cup active sourdough starter
- 1/2 cup warm water
- 1/2 cup whole milk
- 2 tablespoons sugar
- 1 1/2 teaspoons salt
- 3 tablespoons unsalted butter, softened
Instructions
- Lightly grease a loaf pan and prepare a warm spot for proofing.
- In a large bowl, mix sourdough starter, warm water, milk, sugar, and butter until smooth. Add flour and salt, then mix to form a soft dough.
- Transfer the dough to a lightly floured surface and knead until smooth and elastic.
- Shape the dough into a loaf and place it into the greased pan.
- Let the dough rise until doubled in size.
- Bake at 375°F (190°C) for 30 minutes until golden brown.
- Brush the top with butter while warm, let cool slightly, then slice and serve.
Notes
- Make sure your sourdough starter is active and bubbly before using.
- Do not rush the rising time, proper proofing ensures a soft texture.
- Brush with butter after baking for an extra soft crust.
Nutrition
- Serving Size: 1 slice
- Calories: 180
- Sugar: 3g
- Sodium: 210mg
- Fat: 5g
- Saturated Fat: 3g
- Unsaturated Fat: 2g
- Trans Fat: 0g
- Carbohydrates: 28g
- Fiber: 1g
- Protein: 5g
- Cholesterol: 10mg
Keywords: soft sourdough sandwich bread, homemade bread, sourdough loaf, soft sandwich bread