Japanese Cotton Cheesecake
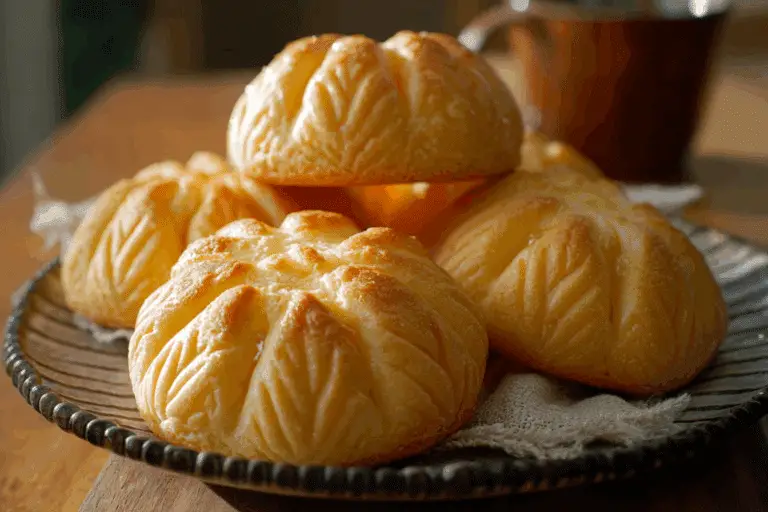
There’s something almost magical about pulling a Japanese cotton cheesecake out of the oven. The way it rises tall and proud, the delicate golden top, and that soft little jiggle in the center instantly make the kitchen feel cozy and special. The first bite is even better. Light as air, gently sweet, and melt-in-your-mouth tender, this cake feels somewhere between a soufflé and a cloud. Trust me, you’re going to love this. It’s one of those desserts that looks impressive but feels comforting and familiar at the same time.
Why This Fluffy Cheesecake Has Everyone Obsessed
The beauty of this dessert comes from its texture. Unlike dense classic cheesecake, this version feels incredibly light and delicate. Every bite practically dissolves on your tongue, leaving behind a creamy vanilla and cream cheese flavor that feels rich without becoming heavy.
It’s the kind of dessert that works for almost every occasion. Afternoon tea, birthdays, family gatherings, or simply a quiet weekend baking session, this one fits right in. Let me tell you, it’s worth every bite.
The Story Behind This Iconic Japanese Dessert
Japanese cotton cheesecake first became popular in Japan during the late twentieth century when bakers began adapting European-style cheesecakes into something softer and lighter. Inspired by both French soufflés and traditional American cheesecake, Japanese bakers created a version that focused on airy texture and delicate sweetness.
Over time, it became famous worldwide because of its signature wobble and cloud-like crumb. Bakeries across Japan often display these cakes fresh from the oven, still gently jiggling as customers line up for a slice. And honestly, once you taste it, you completely understand the hype.
Reasons This Recipe Belongs in Your Baking Rotation
Before we start mixing and folding, let’s talk about why this recipe has become such a favorite in home kitchens everywhere.
Versatile: This cake works beautifully for brunch, dessert, tea time, or celebrations. You can serve it plain or dress it up with fruit and powdered sugar.
Budget-Friendly: Most ingredients are pantry staples like eggs, sugar, flour, and cream cheese, which keeps this dessert affordable without sacrificing flavor.
Quick and Easy: While it looks bakery-worthy, the process is surprisingly approachable once you follow the steps carefully.
Customizable: Add lemon zest, vanilla bean, or even matcha powder for a unique twist.
Crowd-Pleasing: The airy texture and balanced sweetness make it popular even among people who usually avoid rich desserts.
Make-Ahead Friendly: This cheesecake tastes even better after chilling for a few hours, making it perfect for preparing ahead.
Great for Leftovers: Leftover slices stay soft and delicious for days when stored properly in the refrigerator.
Pro Tips That Make a Huge Difference
Making this cheesecake feels almost therapeutic, especially once you understand the little tricks that guarantee success.
- Keep the cream cheese fully softened before mixing so the batter stays silky smooth.
- Fold the egg whites gently to preserve as much air as possible. This creates the famous fluffy texture.
- Use a water bath because it keeps the cake moist and prevents cracking.
- Avoid opening the oven door during baking since sudden temperature changes can cause collapse.
- Let the cake cool gradually inside the oven to help maintain its height and texture.
Kitchen Tools That Make Baking Easier
Before diving into the ingredients, gathering the right tools makes the whole process smoother and more enjoyable.
Mixing Bowls: You’ll need separate bowls for the yolk mixture and whipped egg whites.
Electric Mixer: Essential for whipping the egg whites into stable peaks.
Springform Pan: Makes removing the delicate cake much easier.
Fine Mesh Sieve: Helps create a smooth batter without lumps.
Roasting Pan: Needed for the water bath during baking.
Spatula: Perfect for folding the batter gently without deflating it.
Everything You Need For This Cloud-Like Dessert
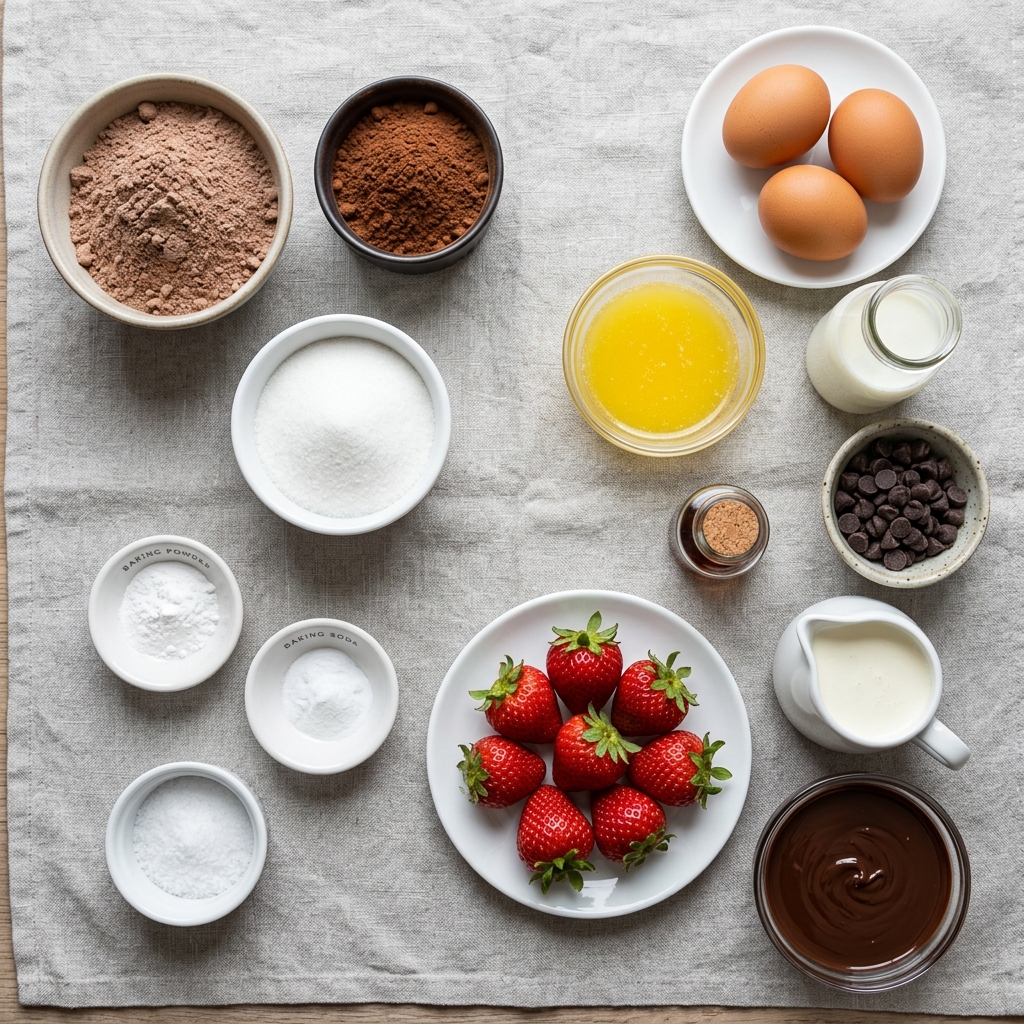
The ingredients may look simple, but together they create something incredibly special.
- Cream Cheese: 250 g softened cream cheese, creates the rich creamy foundation of the cake.
- Unsalted Butter: 60 g unsalted butter, adds richness and softness.
- Whole Milk: 100 ml whole milk, keeps the batter smooth and light.
- Cake Flour: 60 g cake flour, gives the cake its delicate structure.
- Cornstarch: 20 g cornstarch, helps stabilize the airy texture.
- Eggs: 6 large eggs separated, provide both richness and lift.
- Granulated Sugar: 140 g granulated sugar, sweetens the cake while helping stabilize the meringue.
- Vanilla Extract: 1 tsp vanilla extract, adds warmth and depth of flavor.
- Lemon Juice: 1 tsp lemon juice, brightens the flavor and stabilizes the egg whites.
- Salt: 1 pinch salt, balances the sweetness beautifully.
Easy Ingredient Swaps You Can Try
Sometimes you need flexibility in the kitchen, and thankfully this dessert adapts well.
Cake Flour: All-purpose flour mixed with a little cornstarch works well.
Whole Milk: Half-and-half creates an even richer texture.
Vanilla Extract: Lemon zest gives a fresher flavor profile.
Granulated Sugar: Fine caster sugar dissolves even more smoothly into the batter.
The Ingredients That Truly Make This Cake Shine
Some ingredients quietly carry the entire recipe, and these two deserve extra attention.
Cream Cheese: This creates the creamy body of the cake while still allowing the texture to remain delicate and airy.
Egg Whites: Perfectly whipped egg whites are what give this dessert its signature cloud-like softness and gentle rise.
Let’s Bake This Dreamy Cheesecake Together
Now comes the fun part, and honestly, your kitchen is about to smell incredible. Here are the steps you’re going to follow.
- Preheat Your Equipment: Preheat the oven to 320°F (160°C). Line the bottom of a 7 inch springform pan with parchment paper and wrap the outside with foil to prepare for the water bath.
- Combine Ingredients: In a heatproof bowl, combine cream cheese, butter, and milk. Place over simmering water and stir until completely smooth. Remove from heat and whisk in egg yolks, vanilla extract, cake flour, cornstarch, and salt until silky.
- Prepare Your Cooking Vessel: In a separate clean bowl, whip the egg whites with lemon juice until foamy. Gradually add sugar and continue beating until soft glossy peaks form.
- Assemble the Dish: Gently fold the whipped egg whites into the cream cheese mixture in batches. Use a spatula and slow folding motions to keep the batter airy.
- Cook to Perfection: Pour the batter into the prepared pan. Place the pan into a larger roasting pan and fill with hot water halfway up the sides. Bake for 65 minutes until lightly golden and slightly jiggly in the center.
- Finishing Touches: Turn off the oven and leave the cheesecake inside with the door slightly open for 15 minutes. Remove and cool completely before chilling.
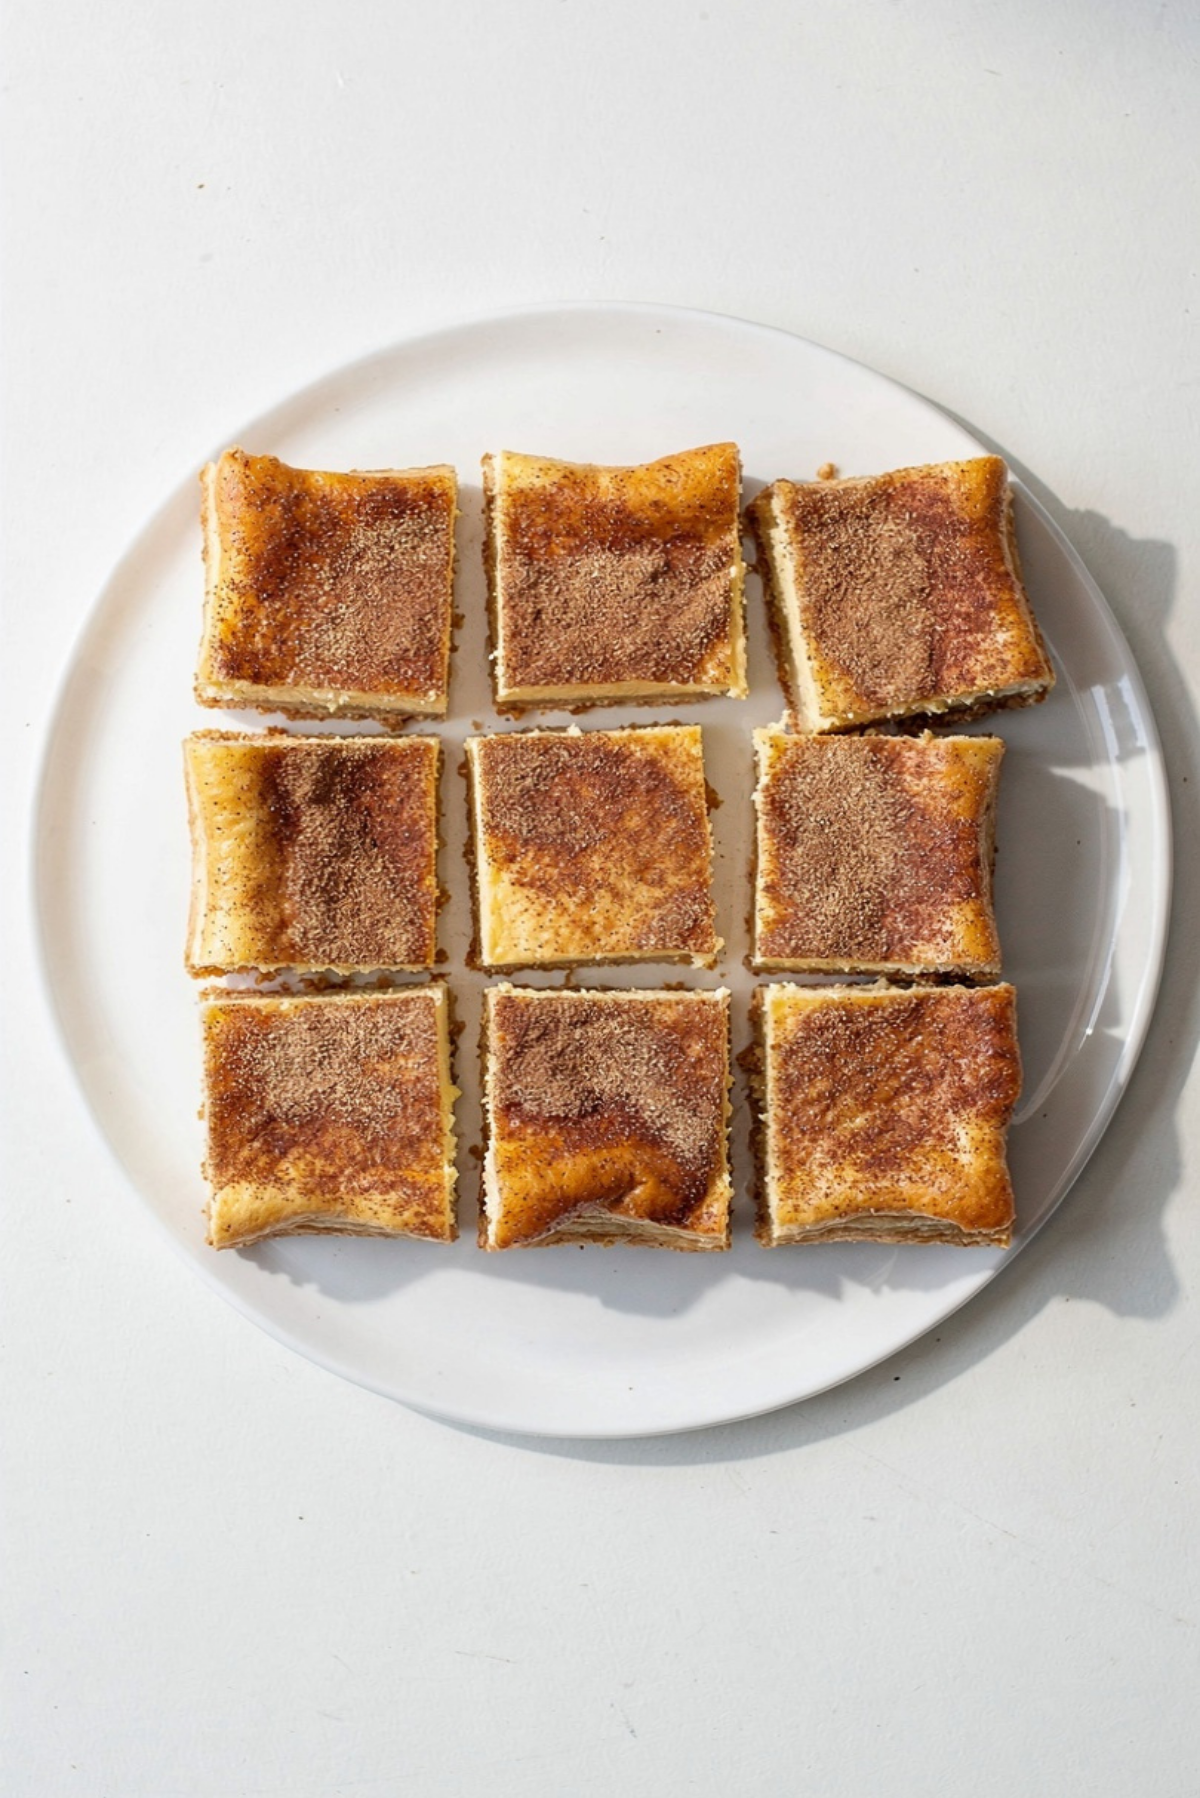
- Serve and Enjoy: Dust lightly with powdered sugar if desired and slice with a warm knife for the cleanest cuts.
The Texture and Flavor Are Pure Magic
This cheesecake is all about contrast. The top has a delicate golden finish while the inside stays unbelievably soft and airy. Each bite feels creamy yet feather-light at the same time.
The flavor develops gently as you eat. First comes the mild sweetness, then the rich cream cheese, followed by warm vanilla and a tiny hint of tanginess from the lemon juice. It’s balanced, elegant, and incredibly comforting.
Helpful Tricks For the Best Results Every Time
A few little adjustments can take your cheesecake from good to bakery-level amazing.
- Use room temperature eggs because they whip up with better volume.
- Sift the flour before mixing to avoid lumps in the batter.
- Tap the filled cake pan gently before baking to release large air bubbles.
- Chill the cake before slicing for cleaner presentation and better texture.
Mistakes That Can Ruin the Texture
Even simple recipes have a few trouble spots, but don’t worry because they’re easy to avoid.
- Overwhipping the egg whites can create a dry batter that collapses.
- Baking without a water bath may lead to cracks and uneven texture.
- Opening the oven too early can cause the cake to sink rapidly.
- Rushing the cooling process may shrink the cake dramatically.
Nutrition Information You Should Know
Servings: 8
Calories per serving: 280
Note: These are approximate values.
Timing Your Baking Session Perfectly
Prep Time: 25 minutes
Cook Time: 65 minutes
Total Time: 90 minutes
Make-Ahead and Storage Advice That Actually Helps
This cheesecake stores beautifully, which makes it ideal for planning ahead. You can bake it the night before serving and let it chill overnight for even better flavor and texture.
Store leftovers in an airtight container in the refrigerator for up to 4 days. For longer storage, wrap slices tightly and freeze for up to 1 month. Thaw overnight in the refrigerator before serving. A few seconds at room temperature brings back the soft texture perfectly.
The Best Ways to Serve This Soft and Airy Dessert
This cake shines beautifully on its own, but a few simple additions can make it feel extra special.
Serve it with fresh strawberries, blueberries, or raspberries for brightness. A light dusting of powdered sugar keeps the presentation elegant and classic. For tea lovers, this cheesecake pairs wonderfully with green tea, jasmine tea, or a creamy latte.
Delicious Ways to Use Leftover Slices
If you somehow end up with leftovers, there are some fun ways to transform them.
Turn slices into parfait layers with whipped cream and berries. Cube leftover cake into mini trifle cups or lightly toast slices for a caramelized exterior and soft center. It’s surprisingly delicious.
Extra Little Details That Elevate the Entire Recipe
Sometimes it’s the smallest details that create the biggest difference.
Use a warm knife when slicing for perfectly smooth edges. Wipe the blade between cuts for cleaner presentation. Chilling the cake for several hours also deepens the flavor and improves the airy texture beautifully.
Presentation Ideas That Make It Look Bakery-Worthy
This cheesecake already has a naturally elegant appearance, but a few touches make it even more stunning.
Serve it on a simple white cake stand to highlight the golden top. Add a few fresh berries beside each slice for color contrast. A tiny sprinkle of powdered sugar right before serving makes it look soft and delicate, almost like fresh snowfall.
Fun Variations Worth Trying
Once you master the classic version, there are so many creative directions to explore.
- Matcha Version: Add 1 tablespoon matcha powder for earthy green tea flavor.
- Chocolate Twist: Fold melted chocolate into the batter for a richer dessert.
- Citrus Brightness: Add orange or lemon zest for extra freshness.
- Berry Swirl: Swirl raspberry puree into the batter before baking.
- Honey Vanilla: Replace part of the sugar with mild honey for floral sweetness.
FAQ’s
1. Why did my cheesecake collapse?
A slight collapse is normal, but dramatic sinking usually comes from overmixing or sudden temperature changes.
2. Can I make this without a springform pan?
Yes, but removing the cake becomes more difficult. A lined deep cake pan works too.
3. How do I know when it’s fully baked?
The center should still jiggle slightly while the edges look set and lightly golden.
4. Can I freeze this cheesecake?
Absolutely. Wrap slices tightly and freeze for up to one month.
5. Why is my texture dense instead of fluffy?
Overfolding the batter often removes too much air from the egg whites.
6. Can I use low-fat cream cheese?
You can, but the texture may be slightly less rich and creamy.
7. Should I chill it before serving?
Yes, chilling helps the texture fully set and improves the flavor.
8. Can I add toppings?
Definitely. Fresh fruit, whipped cream, or powdered sugar all work beautifully.
9. What’s the difference between this and regular cheesecake?
Japanese cotton cheesecake is much lighter, fluffier, and less dense than traditional cheesecake.
10. Can beginners make this successfully?
Absolutely. Following the steps carefully makes this recipe very approachable for new bakers.
Conclusion
Japanese cotton cheesecake has a way of making any moment feel a little softer and sweeter. Between the airy texture, creamy flavor, and delicate golden top, it’s the kind of dessert people remember long after the last slice disappears. Whether you’re baking it for family, friends, or simply for yourself, this one’s a total game-changer. Once you see that beautiful wobble and taste that cloud-like texture, you’ll understand exactly why this dessert has become so loved around the world.
Print
Japanese Cotton Cheesecake
- Prep Time: 25 minutes
- Cook Time: 65 minutes
- Total Time: 90 minutes
- Yield: 8 servings 1x
- Category: Dessert
- Method: Baking
- Cuisine: Japanese
- Diet: Vegetarian
Description
A light and fluffy Japanese cotton cheesecake with a delicate airy texture, creamy flavor, and soft golden top. This melt-in-your-mouth dessert is gently sweet and perfect for tea time or special occasions.
Ingredients
- 250 g cream cheese, softened
- 60 g unsalted butter
- 100 ml whole milk
- 60 g cake flour
- 20 g cornstarch
- 6 large eggs, separated
- 140 g granulated sugar
- 1 tsp vanilla extract
- 1 tsp lemon juice
- 1 pinch salt
Instructions
- Preheat oven to 320°F (160°C). Line the bottom of a 7 inch springform pan with parchment paper and wrap the outside with foil.
- In a heatproof bowl, combine cream cheese, butter, and milk over simmering water. Stir until smooth.
- Remove from heat and whisk in egg yolks, vanilla extract, cake flour, cornstarch, and salt until silky.
- In a separate bowl, whip egg whites with lemon juice until foamy. Gradually add sugar and beat until soft glossy peaks form.
- Gently fold the whipped egg whites into the cream cheese mixture in batches.
- Pour batter into the prepared pan.
- Place the pan into a larger roasting pan and fill halfway with hot water.
- Bake for 65 minutes until lightly golden and slightly jiggly in the center.
- Turn off oven and leave cheesecake inside with the door slightly open for 15 minutes.
- Cool completely, chill, then slice and serve.
Notes
- Use room temperature eggs for better volume.
- Do not overmix the batter or the texture may become dense.
- A water bath helps prevent cracking and keeps the cake moist.
- Chill before slicing for the cleanest cuts.
Nutrition
- Serving Size: 1 slice
- Calories: 280
- Sugar: 18 g
- Sodium: 170 mg
- Fat: 18 g
- Saturated Fat: 10 g
- Unsaturated Fat: 6 g
- Trans Fat: 0 g
- Carbohydrates: 22 g
- Fiber: 0 g
- Protein: 7 g
- Cholesterol: 145 mg
Keywords: Japanese cotton cheesecake, fluffy cheesecake, soufflé cheesecake, Japanese dessert, airy cheesecake, soft cheesecake