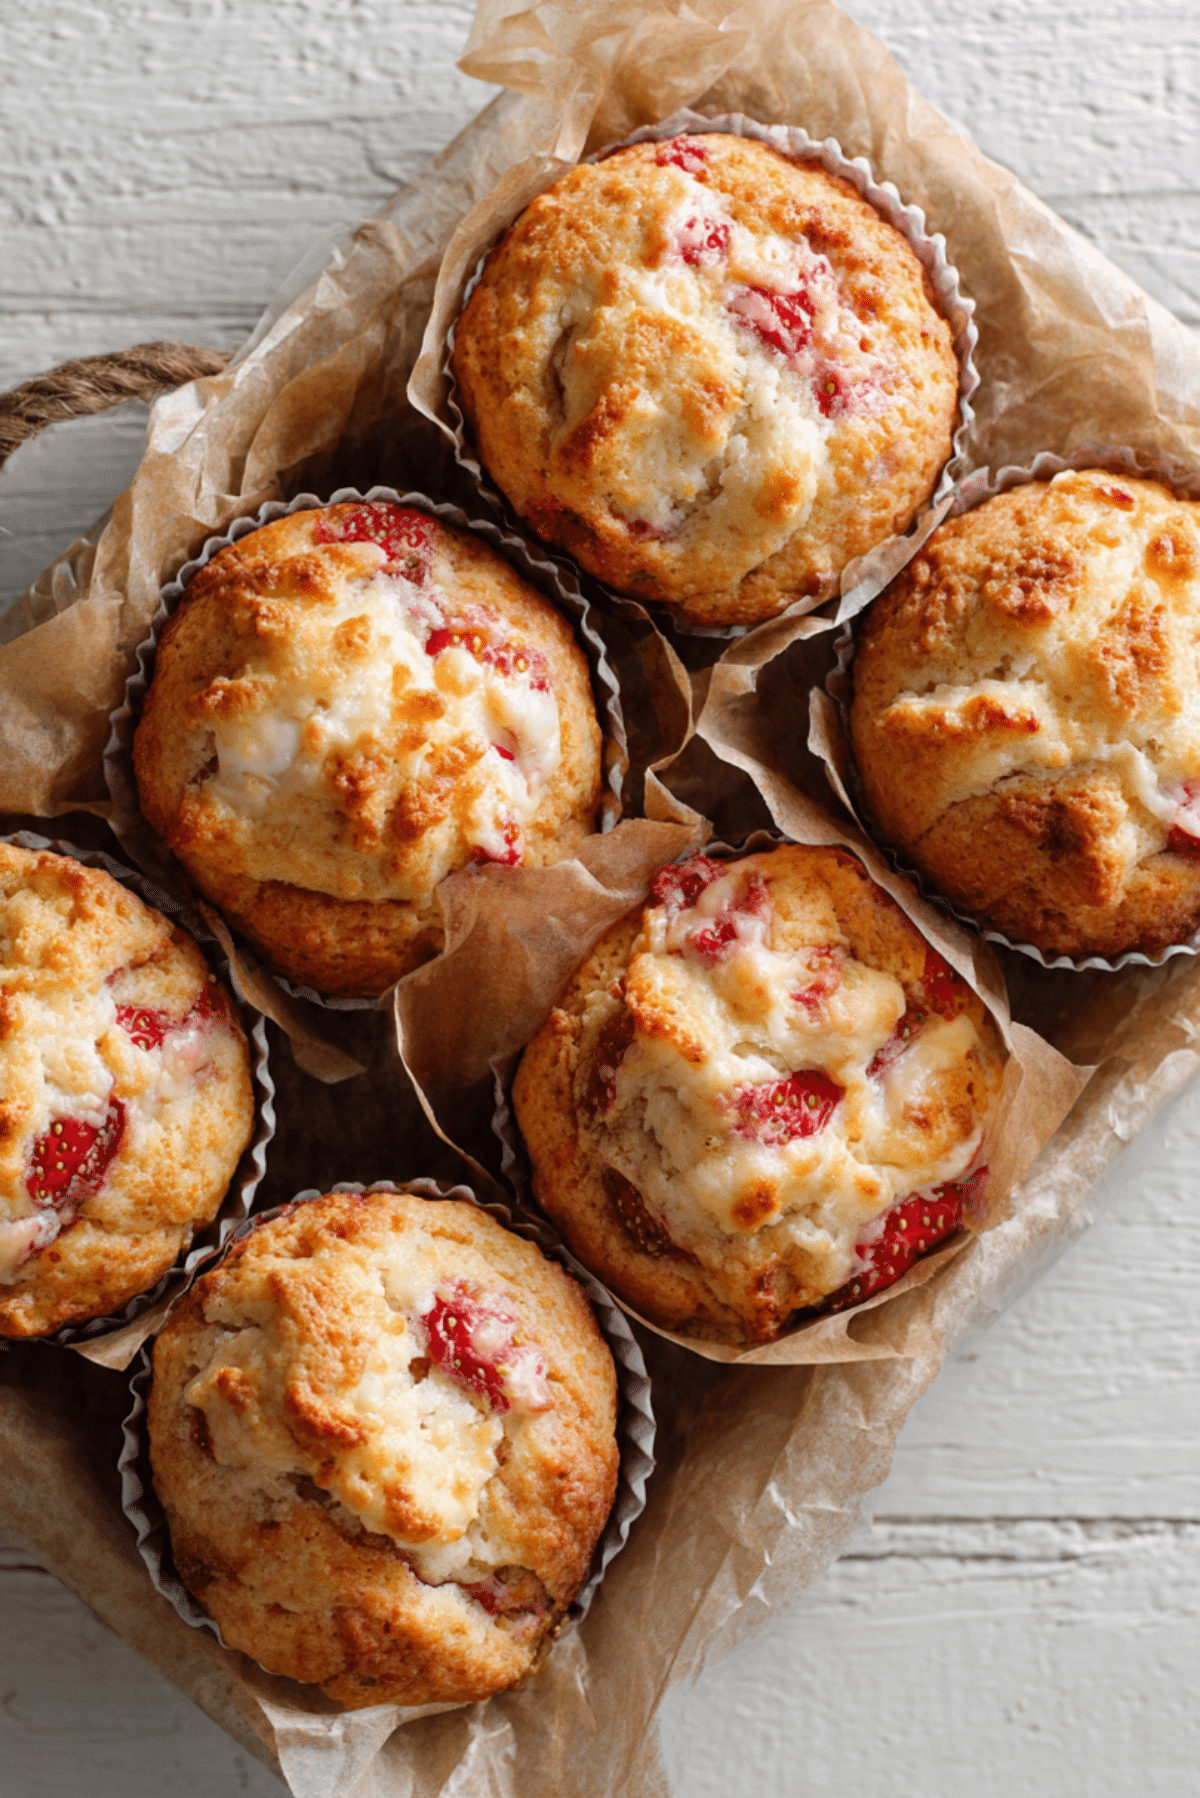
Strawberry Cream Cheese Muffins
There’s something irresistible about the blend of juicy strawberries and tangy cream cheese tucked into a soft, moist muffin. Just imagine biting into one, the sweet berry juices mingling with the creamy pockets, all wrapped up in a tender, buttery crumb. These strawberry cream cheese muffins are the kind that disappear before they’ve even cooled, and trust me, once you make a batch, they won’t last long.
Behind the Recipe
This recipe was born out of a lazy Saturday morning craving for something sweet, but not too sweet, indulgent yet easy. The kind of muffin that feels like a hug in every bite. I remember standing at the kitchen counter, staring at a basket of fresh strawberries that were almost too ripe, and a block of cream cheese waiting to be used. What came out of that little experiment was pure muffin magic, and it’s become a weekend staple ever since.
Recipe Origin or Trivia
Muffins as we know them originated in the United States in the 19th century, a quick bread cousin to English muffins but much sweeter and softer. Pairing strawberries and cream cheese in baking is a classic combination, often seen in cheesecakes and Danish pastries. Bringing them together in muffin form is a clever twist that turns everyday ingredients into something bakery-worthy, right in your own oven.
Why You’ll Love Strawberry Cream Cheese Muffins
These muffins aren’t just tasty, they’re seriously addictive. Here’s why you’ll fall in love with them:
Versatile: Perfect for breakfast, brunch, or a mid-afternoon snack with coffee.
Budget-Friendly: Uses simple pantry ingredients and fresh strawberries.
Quick and Easy: No mixer needed, and ready in under 30 minutes.
Customizable: Swap in blueberries, raspberries, or add a crumb topping.
Crowd-Pleasing: Great for school lunches, potlucks, or gifting.
Make-Ahead Friendly: Can be prepped in advance and stored or frozen.
Great for Leftovers: Still moist and flavorful the next day, just reheat slightly.
Chef’s Pro Tips for Perfect Results
A little insider know-how goes a long way when it comes to muffin perfection.
- Let the cream cheese soften at room temperature for easier mixing.
- Use fresh strawberries for the best flavor and texture, but pat them dry to avoid sogginess.
- Don’t overmix your batter — stir just until the flour disappears.
- Fill muffin cups about three-quarters full for a nice dome.
- Let muffins cool in the tin for 5 minutes before transferring to a wire rack.
Kitchen Tools You’ll Need
Here’s everything you’ll need to bring these dreamy muffins to life:
Mixing Bowls: For wet and dry ingredients.
Whisk and Spatula: To blend the batter gently without overworking it.
Muffin Tin: Standard 12-cup size works great.
Paper Liners or Nonstick Spray: For easy muffin removal.
Ice Cream Scoop or Spoon: To evenly portion the batter.
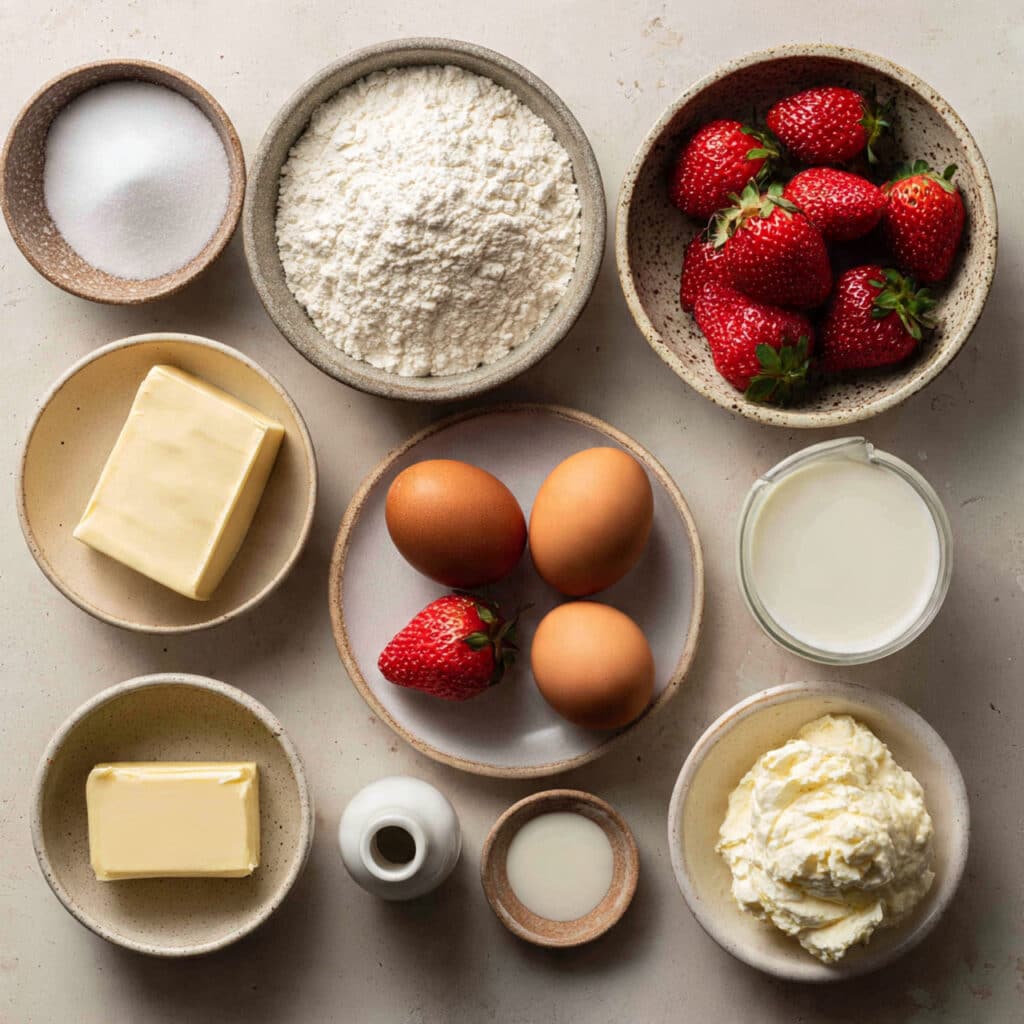
Ingredients in Strawberry Cream Cheese Muffins
What makes these muffins shine is the harmony between rich, creamy, and fruity flavors. Here’s what you’ll need:
- All-Purpose Flour: 2 cups — forms the base for a tender, fluffy texture.
- Granulated Sugar: 3/4 cup — sweetens and helps create a golden top.
- Baking Powder: 2 teaspoons — gives the muffins a perfect rise.
- Salt: 1/4 teaspoon — enhances all the flavors.
- Eggs: 2 large — binds the batter and adds moisture.
- Whole Milk: 1/2 cup — keeps the crumb soft and moist.
- Vanilla Extract: 1 teaspoon — adds warmth and depth.
- Unsalted Butter: 1/2 cup, melted — adds richness and helps with browning.
- Fresh Strawberries: 1 cup, diced — adds bursts of juicy sweetness.
- Cream Cheese: 4 oz, softened — creates luscious creamy pockets throughout.
Ingredient Substitutions
Sometimes you have to work with what you’ve got. Here are a few easy swaps:
Whole Milk: Almond milk or oat milk.
Unsalted Butter: Coconut oil or neutral vegetable oil.
Granulated Sugar: Light brown sugar for a deeper flavor.
Fresh Strawberries: Frozen strawberries, chopped (no need to thaw).
Cream Cheese: Mascarpone or ricotta for a slightly different twist.
Ingredient Spotlight
Strawberries: Packed with natural sweetness and a bright, tart edge, strawberries are the star here. Choose ripe, firm berries and dice them evenly for consistent distribution.
Cream Cheese: The magic ingredient that turns a regular muffin into something decadent. When softened and mixed gently, it creates creamy pockets that melt in your mouth.
Instructions for Making Strawberry Cream Cheese Muffins
Let’s get those muffin pans ready — this part is where the fun (and delicious smell) begins!
-
Preheat Your Equipment:
Preheat your oven to 375°F (190°C) and line a 12-cup muffin tin with paper liners or lightly grease it. -
Combine Ingredients:
In a large bowl, whisk together flour, sugar, baking powder, and salt. In another bowl, whisk the eggs, milk, vanilla extract, and melted butter. Gently fold the wet ingredients into the dry, mixing until just combined. -
Prepare Your Cooking Vessel:
Fold in the diced strawberries and softened cream cheese, being careful not to overmix. Use a scoop or spoon to divide the batter evenly into the muffin tin. -
Assemble the Dish:
Add an extra little dollop of cream cheese or strawberry bits on top of each muffin for extra flavor and visual appeal. -
Cook to Perfection:
Bake for 20–25 minutes, or until a toothpick inserted into the center comes out clean. -
Finishing Touches:
Let the muffins cool in the pan for about 5 minutes before transferring them to a wire rack to cool completely. -
Serve and Enjoy:
Serve warm, room temp, or slightly chilled. Pair with coffee, tea, or a glass of cold milk.
Texture & Flavor Secrets
These muffins strike a beautiful balance between light and rich. The base is fluffy and soft, thanks to the milk and eggs, while the cream cheese adds a luscious, almost cheesecake-like surprise in every bite. The strawberries bring in their signature juiciness, and each element plays off the other in every mouthful.
Cooking Tips & Tricks
Here are a few little tricks to make your muffin game even stronger:
- Always chop strawberries into small, even pieces to prevent them from sinking.
- For an extra burst of flavor, add a little lemon zest to the batter.
- Let ingredients come to room temperature for smoother blending.
What to Avoid
Mistakes happen, but let’s steer clear of these common ones:
- Overmixing the batter — this leads to dense, chewy muffins.
- Using cold cream cheese — it won’t blend evenly.
- Overfilling muffin cups — this can cause overflow and uneven baking.
Nutrition Facts
Servings: 12
Calories per serving: 220
Note: These are approximate values.
Preparation Time
Prep Time: 15 minutes
Cook Time: 25 minutes
Total Time: 40 minutes
Make-Ahead and Storage Tips
These muffins keep beautifully, which makes them great for busy mornings. Store cooled muffins in an airtight container at room temperature for up to 3 days. For longer storage, freeze them for up to 2 months. Just thaw overnight or reheat in the microwave for 20–30 seconds.
How to Serve Strawberry Cream Cheese Muffins
Serve them warm with a light dusting of powdered sugar or a small pat of butter. Pair with your morning latte, pack in lunchboxes, or set out for brunch with fruit salad and scrambled eggs.
Creative Leftover Transformations
If you somehow have leftovers, here’s how to enjoy them in new ways:
- Crumble one over Greek yogurt with honey for a muffin parfait.
- Slice in half and toast lightly, then spread with extra cream cheese.
- Turn them into a quick trifle with whipped cream and extra berries.
Additional Tips
For that perfect bakery look, press a few strawberry pieces on top of each muffin before baking. Also, don’t skip letting them rest in the tin — that 5-minute cooling time helps them finish setting without drying out.
Make It a Showstopper
Use tulip-style muffin liners and a sprinkle of coarse sugar on top before baking for a crisp, sparkling finish. Serve on a rustic wooden board with fresh strawberries scattered around for that Pinterest-worthy moment.
Variations to Try
- Lemon Strawberry Muffins: Add lemon zest and swap cream cheese for a lemon glaze.
- Chocolate Chip Strawberry: Toss in a handful of white or dark chocolate chips.
- Mini Muffins: Use a mini tin and adjust bake time to 12–15 minutes.
- Gluten-Free Version: Use a gluten-free all-purpose flour blend.
- Jam-Swirled: Add a swirl of strawberry jam in the center before baking.
FAQ’s
1. Can I use frozen strawberries?
Yes, just chop them while still frozen and toss with a bit of flour before mixing in.
2. Can I make these without cream cheese?
Absolutely. They’ll still be delicious, just more of a classic strawberry muffin.
3. How do I know when they’re done?
Insert a toothpick — if it comes out clean or with a few moist crumbs, they’re ready.
4. Can I make these dairy-free?
Yes, use dairy-free milk, butter, and a plant-based cream cheese.
5. What’s the best way to store leftovers?
Airtight container at room temp for 3 days or freeze for up to 2 months.
6. Can I double the recipe?
Definitely, just use two muffin tins and rotate them halfway through baking.
7. Why did my strawberries sink?
They were likely too big or too wet. Try patting them dry and chopping smaller.
8. Can I add nuts?
Yes, chopped pecans or almonds add a great crunch.
9. What if I don’t have muffin liners?
Grease the pan well with butter or cooking spray.
10. Can I use a muffin mix?
You can, but homemade gives you much better control over flavor and texture.
Conclusion
Whether you’re whipping these up for brunch guests or sneaking one for dessert, these strawberry cream cheese muffins hit all the right notes. They’re soft, sweet, creamy, and loaded with fruity flavor. Let me tell you, it’s worth every bite.
Print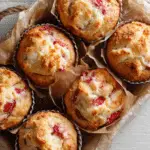
Strawberry Cream Cheese Muffins
- Prep Time: 15 minutes
- Cook Time: 25 minutes
- Total Time: 40 minutes
- Yield: 12 muffins 1x
- Category: Breakfast, Snack
- Method: Baking
- Cuisine: American
- Diet: Vegetarian
Description
These strawberry cream cheese muffins are soft, fruity, and filled with creamy pockets of deliciousness. Perfect for breakfast, brunch, or a quick snack, they come together easily and taste like they came straight from a bakery.
Ingredients
- 2 cups all-purpose flour
- 3/4 cup granulated sugar
- 2 teaspoons baking powder
- 1/4 teaspoon salt
- 2 large eggs
- 1/2 cup whole milk
- 1 teaspoon vanilla extract
- 1/2 cup unsalted butter, melted
- 1 cup fresh strawberries, diced
- 4 oz cream cheese, softened
Instructions
- Preheat your oven to 375°F (190°C) and line a 12-cup muffin tin with liners or lightly grease it.
- In a large bowl, whisk together flour, sugar, baking powder, and salt.
- In another bowl, whisk the eggs, milk, vanilla, and melted butter.
- Fold the wet ingredients into the dry until just combined.
- Gently fold in the strawberries and cream cheese.
- Divide the batter evenly into the muffin cups, filling each about 3/4 full.
- Top with a few extra strawberry pieces if desired.
- Bake for 20–25 minutes, or until a toothpick comes out clean.
- Cool in the pan for 5 minutes before transferring to a wire rack.
- Serve warm or at room temperature.
Notes
- Use room temperature cream cheese for better blending.
- Pat strawberries dry to prevent soggy muffins.
- Add lemon zest for a bright twist.
Nutrition
- Serving Size: 1 muffin
- Calories: 220
- Sugar: 14g
- Sodium: 110mg
- Fat: 10g
- Saturated Fat: 6g
- Unsaturated Fat: 3g
- Trans Fat: 0g
- Carbohydrates: 28g
- Fiber: 1g
- Protein: 3g
- Cholesterol: 45mg
Keywords: strawberry muffins, cream cheese muffins, easy muffin recipe, strawberry breakfast muffins