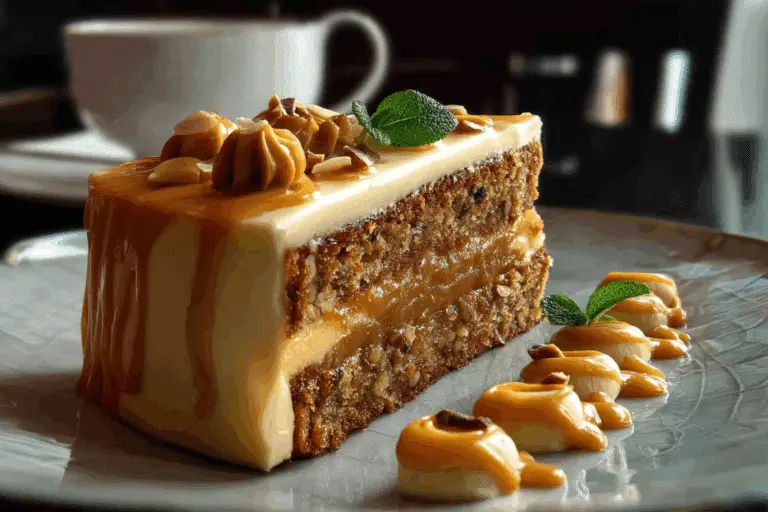
Mini Loaf Tins Cake
Hey there, food lover! Get ready to discover a recipe that’s about to become a staple in your kitchen and a star on your dinner table. I’m talking about a treat that whispers comfort, shouts flavor, and effortlessly brings smiles all around. This Mini Loaf Tins Cake isn’t just a dessert; it’s a warm hug after a long day, a joyous centerpiece for celebrations, and frankly, a secret weapon in your culinary arsenal. Trust me, you’re going to absolutely adore this one it’s a game-changer!
Why You’ll Love This Mini Loaf Tins Cake
This recipe isn’t just about the ingredients; it’s about creating moments. Whether you’re baking for a casual family dessert, gifting to friends, or simply indulging in some comforting flavors for yourself, this treat is versatile enough to fit the occasion. Here’s why it’s a favorite:
Versatile
This mini loaf cake is a chameleon in the kitchen! You can swap out flavors, add different fruits, nuts, or chocolate chips based on what you’re craving or what’s in season. It truly adapts to whatever occasion or flavor profile you desire.
Budget-Friendly
Stretch your dollar without compromising on taste! This recipe uses readily available, affordable ingredients that transform into something truly spectacular. It’s proof that delicious, satisfying treats don’t have to break the bank.
Quick and Easy
Life’s busy, and sometimes you need a treat that comes together without a fuss. This mini loaf cake is exactly that! With minimal prep and straightforward steps, you’ll have a mouthwatering bake ready to savor in no time. Perfect for those spontaneous sweet cravings!
Customizable
Feel free to unleash your inner chef! Want more citrus zest? Add it! Prefer a glaze instead of a dusting of sugar? Go for it! This recipe is your canvas, inviting you to personalize it to your heart’s content, making it uniquely yours every single time.
Crowd-Pleasing
A guaranteed hit with both kids and adults. It’s always a win when a single treat can satisfy everyone at the table. This recipe strikes the perfect balance of flavor and comfort, making it a universal favorite. Plus, mini loaves are just so darn cute!
Ingredients
Here’s the magic of this mini loaf cake—it’s made with just a few pantry staples, but the result is so much more than the sum of its parts. Let’s break it down:
All Purpose Flour
The fundamental building block, providing the structure for our tender, delicious cake.
Granulated Sugar
Sweetens the cake, contributing to its delightful flavor and moist texture.
Baking Powder
The leavening agent that helps our mini loaves rise beautifully, creating a light and airy crumb.
Salt
A pinch enhances all the other flavors, balancing the sweetness and making the cake taste even better.
Large Eggs
Bind the ingredients together and add richness and moisture to the batter.
Milk
Provides necessary liquid for the batter, contributing to the cake’s tender texture.
Vegetable Oil
Adds incredible moisture to the cake, ensuring it stays soft and tender for days.
Vanilla Extract
A classic flavor enhancer that adds warmth and depth to the cake’s overall profile.
Optional Add-ins
Think fresh berries, lemon zest, chocolate chips, or chopped nuts to truly make these cakes your own.
(Note: the full ingredients list, including measurements, is provided in the recipe card directly below.)
Instructions
Let’s dive into the steps to create this flavorful masterpiece:
Preheat Your Equipment
Start by preheating your oven to 350°F (175°C). This ensures even cooking and gives your cakes the right texture. Preheating is a small but essential step that sets the stage for success. Lightly grease and flour your mini loaf tins or line them with mini paper loaf liners.
Combine Dry Ingredients
In a large bowl, whisk together the all purpose flour, granulated sugar, baking powder, and salt. Make sure these are well combined to ensure even distribution throughout the batter. This step allows all the flavors to meld together beautifully. Make sure not to overmix, as this could affect the final texture.
Combine Wet Ingredients
In a separate medium bowl, whisk together the large eggs, milk, vegetable oil, and vanilla extract until smooth. This ensures all the liquids are thoroughly incorporated before adding to the dry ingredients.
Prepare Your Cooking Vessel
Carefully pour the wet ingredients into the dry ingredients. Mix with a spatula or spoon until just combined. Be careful not to overmix; a few small lumps are perfectly fine and actually help keep the cake tender. If using optional add-ins like berries or chocolate chips, gently fold them in now. Proper preparation not only prevents sticking but also makes cleaning up a breeze later on.
Assemble the Dish
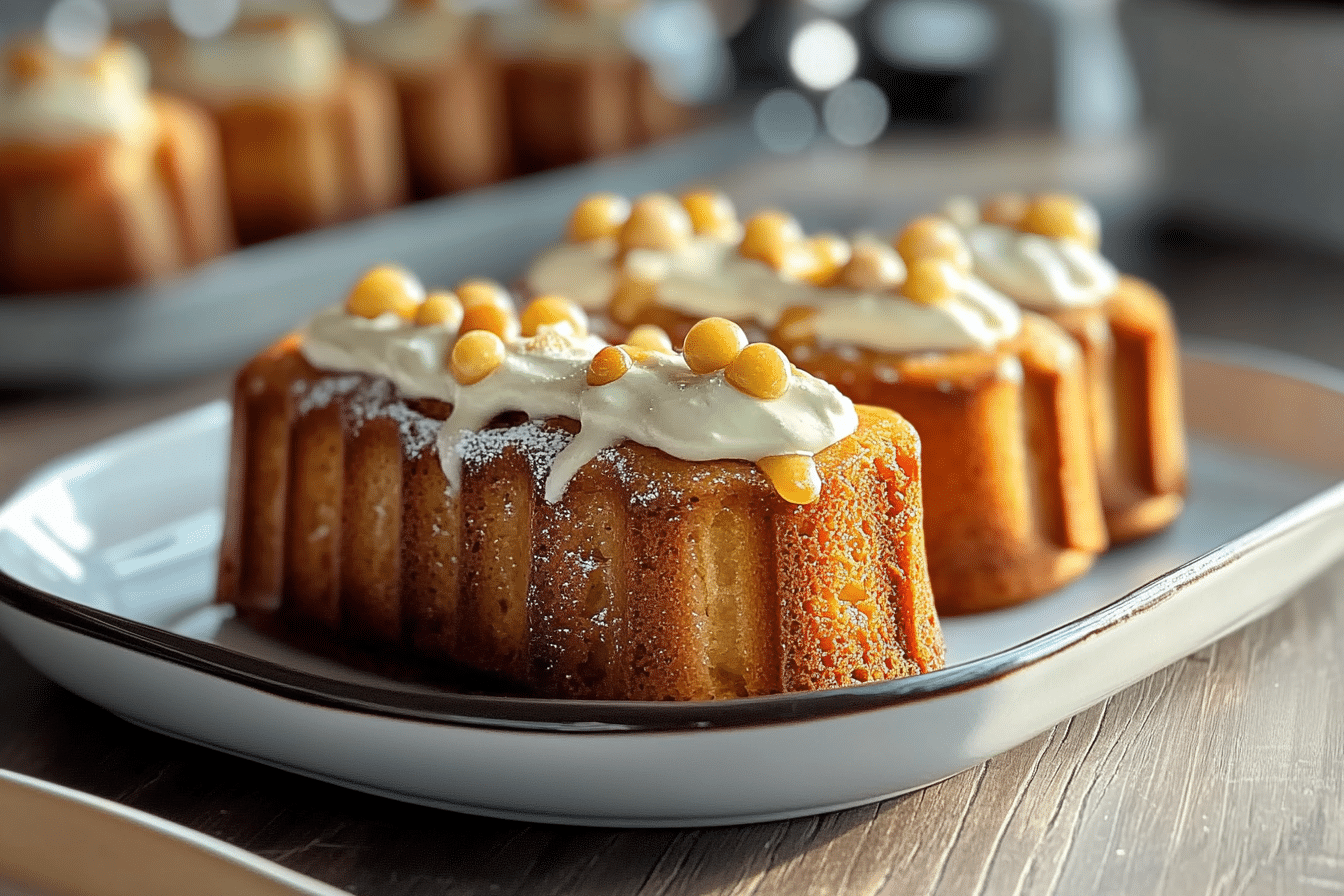
Divide the batter evenly among the prepared mini loaf tins, filling each about two-thirds full. Spreading everything evenly for consistent cooking. At this stage, you can also add optional toppings like shredded cheese, breadcrumbs, or fresh herbs for extra flavor.
Cook to Perfection
Bake for 20-25 minutes, or until a wooden skewer inserted into the center of a cake comes out clean. The tops should be lightly golden brown. Be sure to follow the cooking time closely to avoid overcooking or drying out the dish.
Finishing Touches
Remove the mini loaf tins from the oven and let them cool in the tins for 5-10 minutes. This step is crucial to let the flavors settle. It’s tempting to dig in right away, but a brief cooling period makes a big difference. After cooling slightly, carefully remove the cakes from the tins and transfer them to a wire rack to cool completely.
Serve and Enjoy
Serve warm or at room temperature. Dust with powdered sugar, drizzle with a simple glaze, or enjoy plain! Whether it’s paired with a side dish or served on its own, this recipe is sure to impress. Get ready for those happy sighs around the table!
Notes:
- Servings: 6 mini loaves
- Calories per serving: 280 (approx, without add-ins)
Preparation Time
Prep Time: 15 minutes
Cook Time: 25 minutes
Total Time: 40 minutes
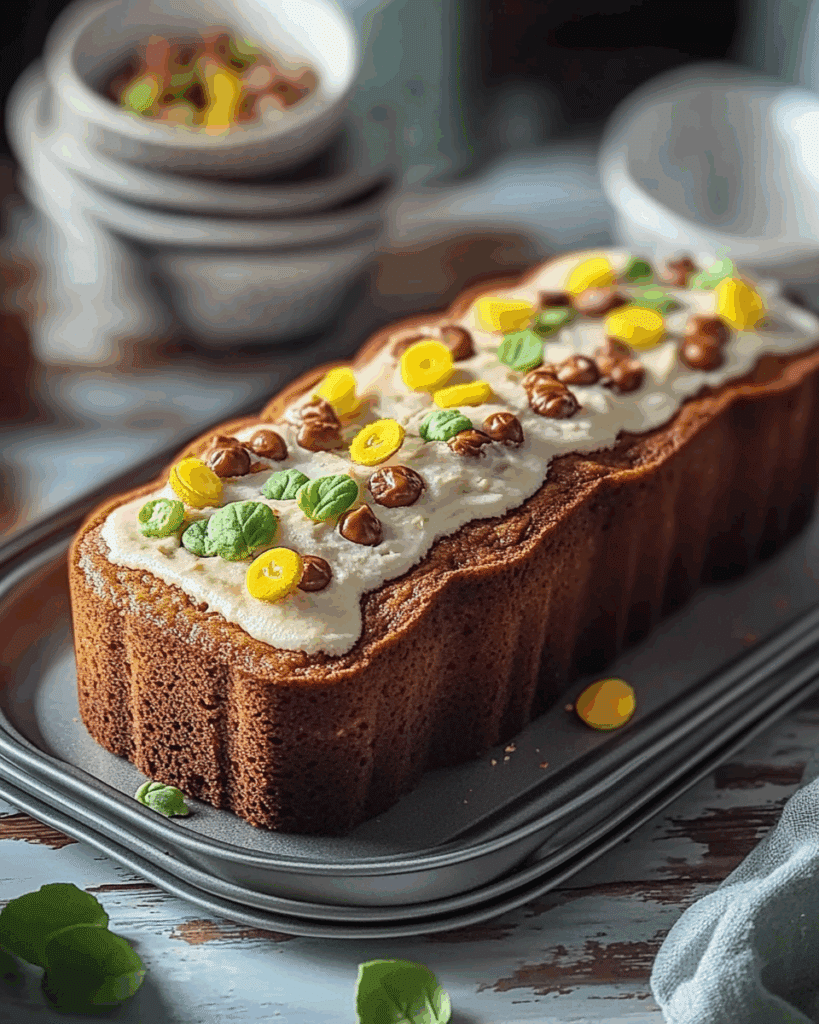
How to Serve This Mini Loaf Tins Cake
This treat pairs wonderfully with various accompaniments. Here are a few serving suggestions to enhance your dining experience: enjoy a slice with your morning coffee or afternoon tea, serve them as individual desserts after dinner, or wrap them individually for a delightful homemade gift. They are also perfect for a picnic or a potluck, offering a charming individual portion. A dollop of whipped cream or a scoop of vanilla ice cream makes them even more decadent.
Additional Tips
Here are some extra tips to help you get the most out of this recipe: avoid overmixing the batter, as this can lead to a tough cake. For perfectly domed tops, you can fill the tins slightly more, about 3/4 full, but adjust baking time accordingly. If you’re adding fruit, toss it lightly with a tablespoon of flour before adding to the batter to prevent it from sinking to the bottom. For a richer flavor, use buttermilk instead of regular milk. Simply replace the regular milk with the same amount of buttermilk.
FAQ’s
-
How many mini loaves does this recipe make?
This recipe typically yields 6 mini loaves, but it can vary slightly depending on the size of your mini loaf tins. -
Can I make this in a standard loaf pan instead?
Yes, you can! You’ll likely get one standard-sized loaf. The baking time will increase to approximately 45-55 minutes. -
How do I prevent sticking in the tins?
Always grease and flour your tins thoroughly, or use non-stick cooking spray. Paper mini loaf liners are also an excellent option. -
Can I add nuts or chocolate chips?
Absolutely! Fold in about 1/2 cup of your favorite nuts (like walnuts or pecans) or chocolate chips with the dry ingredients before adding the wet. -
How do I store mini loaf cakes?
Store cooled mini loaves in an airtight container at room temperature for up to 3-4 days, or in the refrigerator for up to a week. -
Can I freeze mini loaf cakes?
Yes, they freeze beautifully! Once completely cooled, wrap each mini loaf tightly in plastic wrap, then in foil. Freeze for up to 2-3 months. Thaw at room temperature. -
Can I make this recipe gluten-free?
Yes, you can substitute the all-purpose flour with a 1:1 gluten-free baking flour blend containing xanthan gum. -
What kind of glaze can I make?
A simple glaze can be made by whisking powdered sugar with a little milk or lemon juice until it reaches a drizzly consistency. -
My cakes sank in the middle, what happened?
This can happen from overmixing, opening the oven door too early, or too much leavening agent. Ensure your baking powder is fresh! -
Can I use melted butter instead of oil?
While oil generally makes cakes moister, melted butter can be used for a richer flavor. Use the same amount as the oil.
Conclusion
There you have it—your ticket to a truly delightful treat that’s as simple as it is satisfying. This Mini Loaf Tins Cake is more than just a recipe; it’s a canvas for your culinary creativity, a budget-friendly superstar, and a guaranteed crowd-pleaser that will have everyone asking for seconds. So go on, gather your ingredients, turn on your oven, and get ready to create some delicious memories. Happy baking, my friend, and enjoy every comforting bite!
Print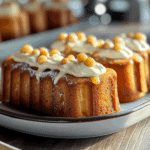
Mini Loaf Tins Cake
- Prep Time: 15 minutes
- Cook Time: 20-30 minutes
- Total Time: 35-45 minutes (plus cooling time)
- Yield: 6 mini loaves 1x
- Category: Dessert, Cake, Baked Good
- Method: Baking
- Cuisine: American
- Diet: Vegetarian
Description
A versatile and delightful recipe for baking small, individual cakes in mini loaf tins. These cakes are perfect for gifting, portion control, or simply enjoying a charming, single-serving treat. The recipe is adaptable to many flavors, from classic vanilla to chocolate or lemon.
Ingredients
- 1 1/2 cups all-purpose flour
- 1 teaspoon baking powder
- 1/4 teaspoon baking soda
- 1/4 teaspoon salt
- 1/2 cup (1 stick) unsalted butter, softened
- 1 cup granulated sugar
- 2 large eggs, at room temperature
- 1 teaspoon vanilla extract
- 1/2 cup milk (dairy or non-dairy, at room temperature)
- Optional additions/flavor variations:
- 1/2 cup mini chocolate chips
- Zest of 1 lemon or orange
- 1/2 teaspoon almond extract (instead of vanilla)
- 1/4 cup cocoa powder (reduce flour by 1/4 cup)
- 1/2 cup fresh berries (tossed in 1 tbsp flour)
- For Glaze/Topping (Optional):
- 1 cup powdered sugar
- 2–3 tablespoons milk or lemon juice
- A sprinkle of sprinkles or chopped nuts
Instructions
- Preheat oven to 350°F (175°C). Grease and flour 6 mini loaf tins (approx. 5.75 x 3.25 inches each) or line with paper inserts.
- In a medium bowl, whisk together the flour, baking powder, baking soda, and salt. Set aside. If making a chocolate variation, whisk in cocoa powder here.
- In a large bowl, cream together the softened butter and granulated sugar with an electric mixer until light and fluffy, about 2-3 minutes.
- Beat in the eggs one at a time, mixing well after each addition. Stir in the vanilla extract (and any other extracts like almond, or zest).
- Gradually add the dry ingredients to the wet ingredients in three additions, alternating with the milk in two additions. Begin and end with the dry ingredients. Mix on low speed until just combined, being careful not to overmix.
- If adding optional mix-ins like chocolate chips, berries, or nuts, gently fold them into the batter with a spatula.
- Divide the batter evenly among the prepared mini loaf tins, filling each about two-thirds full.
- Bake for 20-30 minutes, or until a wooden skewer or toothpick inserted into the center of a cake comes out clean. Baking time will vary slightly depending on your oven and the exact size of your tins.
- Remove the mini loaves from the oven and let them cool in the tins for 5-10 minutes before carefully transferring them to a wire rack to cool completely.
- For the Glaze (Optional): While cakes cool, whisk together the powdered sugar and milk/lemon juice until smooth. Once cakes are completely cool, drizzle the glaze over the tops.
- Let the glaze set before serving or packaging.
Notes
- Ensure butter, eggs, and milk are at **room temperature** for a smoother batter and better-textured cake.
- Do not overmix the batter, as this can lead to a tough cake. Mix until just combined.
- Mini loaf cakes bake faster than a full-sized loaf, so keep an eye on them.
- These mini loaf cakes are excellent for **gifting**. Once cooled, wrap them individually in plastic wrap and then in decorative paper or cellophane bags.
- You can freeze cooled, unglazed mini loaf cakes in an airtight container or freezer bag for up to 3 months. Thaw at room temperature before glazing or serving.
- Try adding a streusel topping before baking for extra crunch: combine 1/4 cup flour, 2 tablespoons sugar, 1 tablespoon cold butter, and a pinch of cinnamon until crumbly.
Nutrition
- Serving Size: 1 mini loaf (approx. 100-150g depending on additions)
- Calories: 300-450 (varies based on additions like chocolate chips, nuts, and glaze)
- Sugar: 30-50g
- Sodium: 150-250mg
- Fat: 15-25g
- Saturated Fat: 8-15g
- Unsaturated Fat: N/A
- Trans Fat: 0g
- Carbohydrates: 40-60g
- Fiber: 1-2g
- Protein: 4-6g
- Cholesterol: 50-80mg
Keywords: Mini Loaf Cake, Quick Bread, Easy Cake, Gifting, Vanilla Cake, Chocolate Cake, Lemon Cake, Baked Good