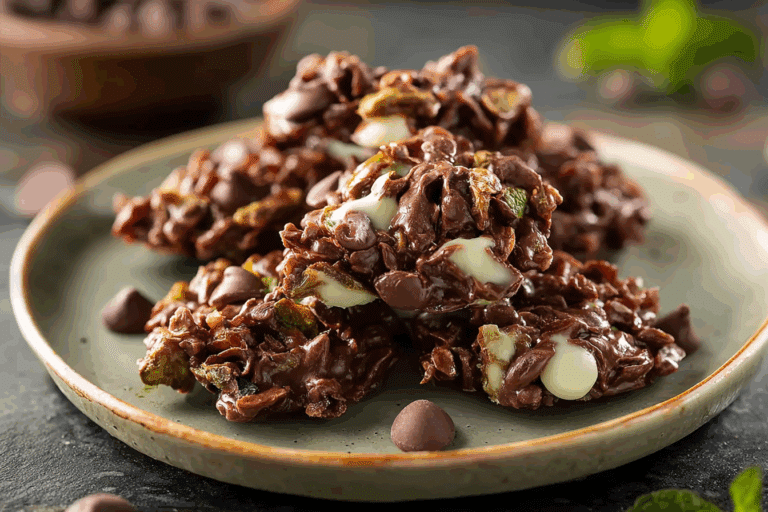
Marshmallow “Michelin” Dessert Topping
There is something so fun about taking a humble bag of marshmallows and turning it into something that looks like it belongs on a fancy plated dessert. This crisp, glossy topping has those deep caramel notes, a delicate crackle, and just enough toastiness to make every spoonful feel extra special. Trust me, you’re going to love this, because it brings drama to the plate without asking for a long ingredient list or complicated technique.
Why This Sweet Little Finish Feels So Special
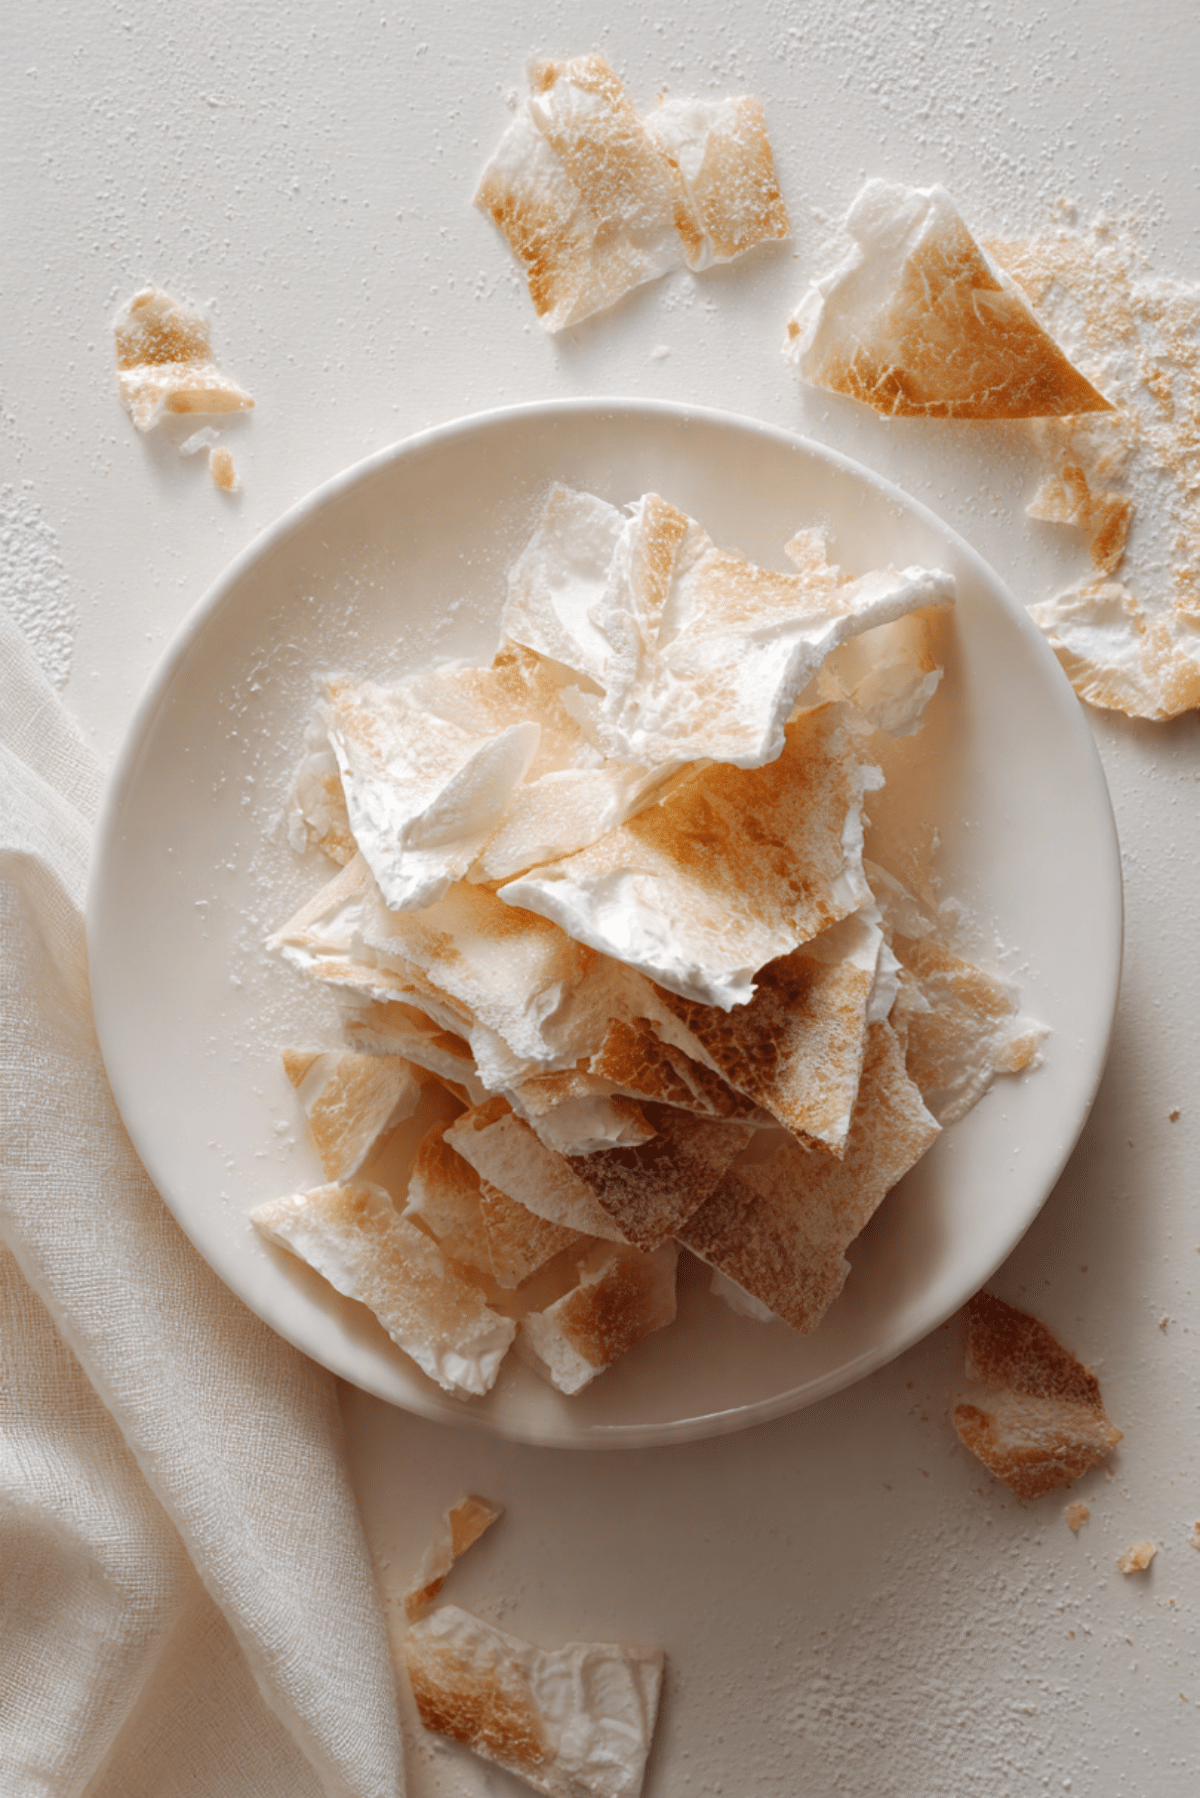
Some toppings are there just to decorate, but this one actually changes the whole dessert experience. It starts soft and puffy, then melts into thin golden pools that cool into delicate shards with a light crunch and a toasted, almost candy-like flavor. It is one of those tiny kitchen tricks that looks wildly impressive, yet feels surprisingly doable once you see it happen.
And now let’s dive a little deeper, because this kind of finishing touch has a charm all its own.
The Story Behind This Fancy-Looking Marshmallow Trick
This style of topping feels modern and playful, like something you would spot on a restaurant dessert and instantly want to recreate at home. It leans into that contrast chefs love so much, where a familiar ingredient gets transformed into something elegant through heat, texture, and timing. What makes it so lovable is that it still keeps that nostalgic marshmallow sweetness, just with a deeper roasted edge and a crisp finish.
That balance between playful and polished is exactly why this one’s a total game-changer.
Why You’ll Keep Coming Back to This Easy Dessert Upgrade
This topping has a way of making even the simplest bowl of ice cream or pudding feel dressed up and dinner-party ready.
Versatile: It works beautifully over ice cream, chocolate mousse, puddings, cheesecakes, and even fruit-based desserts. A few shards on top can instantly make a simple dessert feel styled and intentional.
Budget-Friendly: You only need a handful of ingredients, and they are easy to find. It gives high-impact results without asking you to spend much at all.
Quick and Easy: The whole process moves fast once the pan is warm. You can have crisp marshmallow pieces ready in minutes.
Customizable: You can make the shards pale golden for a lighter sweetness or take them a little darker for more caramel flavor. A tiny pinch of flaky sea salt also changes the whole vibe in the best way.
Crowd-Pleasing: People love a topping that crackles when you bite into it. It adds that little moment of surprise that makes dessert memorable.
Make-Ahead Friendly: Once cooled, the shards can be held briefly at room temperature and added right before serving. That makes plating much easier.
Great for Leftovers: If you have extra pieces, crumble them over yogurt, hot cocoa, or even a bowl of berries. Let me tell you, it’s worth every bite.
Smart Tips Before You Start Cooking
Before you turn on the heat, a few small details can make the process smoother and give you prettier results.
- Use low to medium-low heat so the marshmallows have time to melt and color without scorching too fast.
- Leave space between each piece in the pan, because they spread more than you might expect.
- Watch the edges closely, since that is where the best golden color appears first.
- Lift them while they are still warm and flexible, because once fully cool they become more fragile.
- Keep your serving dessert ready first, so you can garnish while the topping still looks fresh and glossy.
The Simple Tools That Make It Easy
This recipe does not ask for much, which is part of its charm. A few basic tools are all you need.
Nonstick skillet: A good nonstick surface helps the marshmallows melt and release more easily.
Small pastry brush or spoon: This helps spread the vegan butter into a very thin layer.
Thin offset spatula or flexible spatula: Perfect for lifting the delicate pieces without tearing them too much.
Plate or parchment-lined tray: A safe spot for the topping to cool for a few moments before serving.
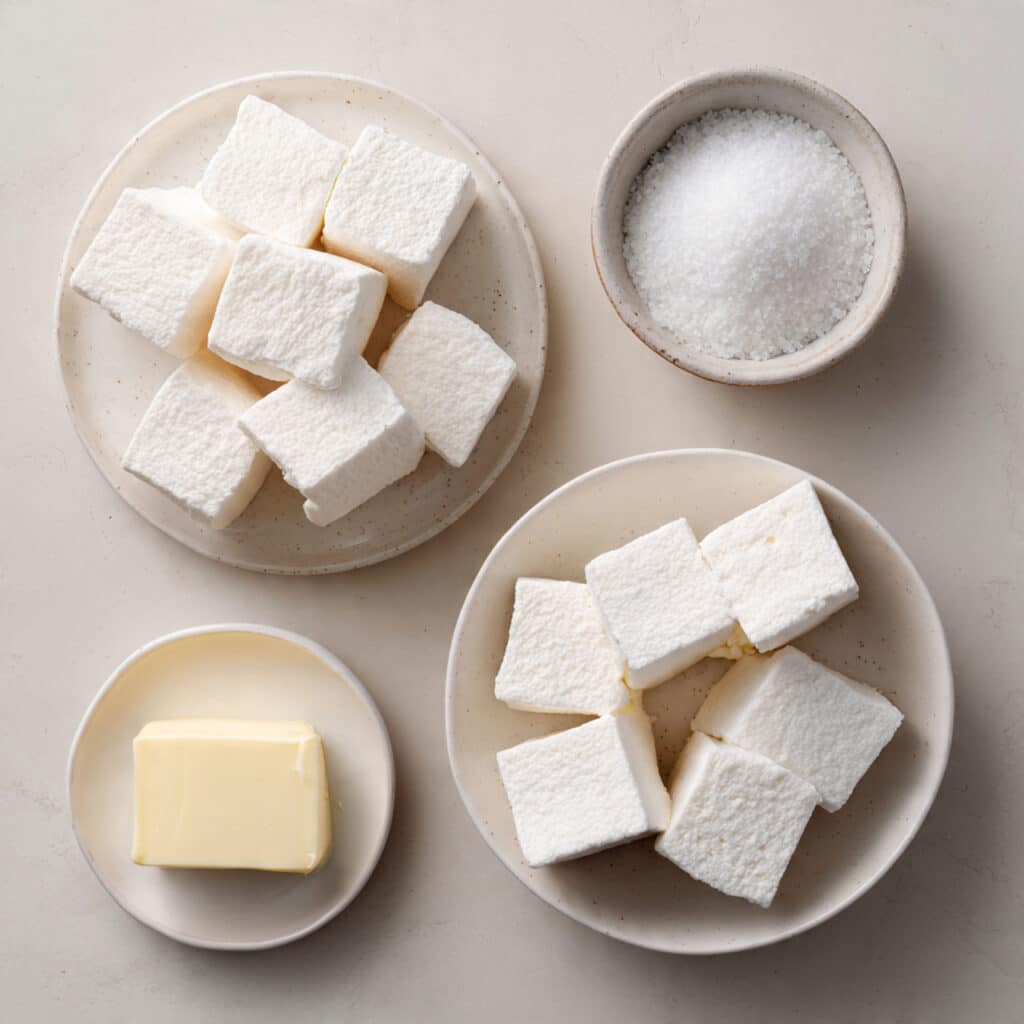
What You’ll Need to Make This Crisp Sweet Topping
The ingredient list is wonderfully short, but each piece plays an important role in creating that glossy, golden finish. The marshmallows give the body and sweetness, the butter helps the pan stay lightly coated, and the salt balances all that sugary richness.
- Vegan marshmallows: 10 large vegan marshmallows, these melt into airy golden rounds that become the crisp topping.
- Vegan butter: 1 teaspoon, this lightly coats the skillet and helps the marshmallows release more neatly.
- Flaky sea salt: 1 pinch, this finishes the topping with a gentle contrast that keeps the sweetness lively.
Easy Swaps If You Need Them
A flexible recipe is always a good one, and this topping gives you a little room to work with what you have.
Vegan marshmallows: Mini vegan marshmallows, use about 1 heaping cup.
Vegan butter: Neutral coconut oil, use the same amount for lightly greasing the pan.
Flaky sea salt: Fine sea salt, use just a tiny pinch so it does not overpower the topping.
The Ingredients That Really Do the Magic
Even in such a short recipe, there are a couple of stars worth appreciating a bit more.
Vegan marshmallows: These are the whole heart of the topping. As they melt, they puff, bubble, and caramelize into delicate pieces with crisp edges and a chewy center if served slightly warm.
Flaky sea salt: Just a little goes a long way. It sharpens the toasted sweetness and makes the final bite feel more polished.
Let’s Turn It Into Something Beautiful
This is the part where everything comes together, and it is honestly so satisfying to watch. Keep close to the stove, trust your eyes, and enjoy the transformation.
- Preheat Your Equipment: Place a nonstick skillet over low to medium-low heat for about 1 minute. Lightly brush the surface with the vegan butter so there is a very thin, even coating.
- Combine Ingredients: Set the vegan marshmallows and flaky sea salt beside the stove so everything is ready to go. There is no mixing bowl needed here, but having the ingredients within reach makes the process calm and smooth.
- Prepare Your Cooking Vessel: Once the skillet is warm, arrange the marshmallows in a single layer with space between them. They need room to spread into thin rounds.
- Assemble the Dish: Let the marshmallows melt undisturbed for 2 to 3 minutes, then gently nudge them if needed so they stay separate. When the bottoms are deeply golden and the tops look soft and glossy, they are ready for the next step.
- Cook to Perfection: Continue cooking for 1 to 2 more minutes until the edges are richly toasted and lacy. Carefully slide a thin spatula under each piece and transfer them to a plate or parchment-lined tray for 20 to 30 seconds, just until they are cool enough to hold their shape but still flexible.
- Finishing Touches: While still slightly warm, leave them flat for elegant crisp rounds or gently drape and break them into rustic shards. Sprinkle with the flaky sea salt.
- Serve and Enjoy: Place the topping immediately over ice cream, mousse, pudding, cheesecake, or any dessert that needs a little drama and crunch.
The Texture and Flavor Payoff
What makes this topping so exciting is the contrast. The edges turn thin and crisp, almost like caramel glass with tiny bubbles, while the center can stay just a touch softer if you serve it warm. Flavor-wise, it moves from straightforward sweetness into deeper toasted notes that feel richer, warmer, and more layered. Add that tiny pinch of salt, and suddenly every bite tastes more balanced and a little more grown-up.
Helpful Little Tricks for Better Results
Once you make it the first time, you will start noticing how a few tiny adjustments can change the final look and feel.
- Cook in small batches so each marshmallow has enough room to spread.
- Use the thinnest possible layer of butter, because too much can make the topping greasy instead of crisp.
- Garnish desserts just before serving for the best texture.
What Can Go Wrong, and How to Avoid It
This is an easy recipe, but it moves quickly, so it helps to know the common slip-ups before they happen.
- Heat too high: The outside can burn before the marshmallow fully melts. Lower the heat and let the color build slowly.
- Overcrowding the pan: The pieces can merge into one big sheet. Leave enough space between them from the start.
- Waiting too long to lift them: Once fully hardened, they can crack unevenly. Lift them while still slightly warm and pliable.
A Quick Look at the Nutrition
This topping is tiny but punchy, which is part of why it works so well. A little goes a long way on the plate.
Servings: 4
Calories per serving: 58
Note: These are approximate values.
Time You’ll Need From Start to Finish
One of the nicest things here is how quickly it all happens. It is perfect for those moments when dessert needs a last-minute flourish.
Prep Time: 5 minutes
Cook Time: 8 minutes
Total Time: 13 minutes
Make-Ahead and Storage Tips
If you want to get ahead, you can cook the topping a little before serving and let the pieces cool completely on parchment. Store them in a single layer in an airtight container at room temperature for up to 1 day. If you need to stack them, place parchment between layers to protect the delicate texture. I would not refrigerate them, because moisture can soften the crisp finish. Reheating is not ideal here, so the best move is to make them fairly close to serving time.
The Best Ways to Serve It
This topping shines most when paired with something creamy, cool, or silky. Try it over vanilla ice cream, dark chocolate mousse, lemon pudding, coconut panna cotta, or a thick scoop of whipped dairy-free cream over fruit. It is also gorgeous tucked into the side of a plated cheesecake slice, where it adds both height and texture.
Fun Ways to Use the Leftovers
Extra pieces are never a problem in my kitchen. Crumble them over yogurt for a sweet crunch, press them gently into the top of cupcakes, or break them over a bowl of fresh berries and cream. You can even use the shards to decorate a milkshake or a dessert board if you are feeling playful.
A Few More Tips to Make It Even Better
The more you make this, the more you will get a feel for the exact level of toastiness you like. A lighter golden finish tastes sweeter and softer, while a deeper amber edge brings more caramel flavor. Keep a close eye on that color and pull the marshmallows when they look glossy, bubbled, and beautifully toasted.
Make It Look Restaurant-Worthy
Presentation is half the fun here. Stand one or two shards upright in a scoop of ice cream, lean a piece against a mousse glass, or scatter smaller broken bits over a plated dessert for a dramatic finish. That little height and shine make the whole dessert feel intentional and polished without much extra work.
Variations to Try Next Time
Once you get comfortable with the method, it is easy to play around a little.
- Salted dark finish: Take the marshmallows slightly darker and add a generous pinch of flaky sea salt for a deeper caramel edge.
- Mini shard style: Use mini vegan marshmallows for smaller, lace-like topping pieces that look delicate and fancy.
- Round garnish discs: Leave the pieces whole and flat instead of breaking them, then perch one crisp round on each dessert.
- Soft-center version: Pull them from the pan a little earlier for a topping that is crisp at the edges and a bit chewier in the middle.
FAQ’s
1. Can I make this without vegan butter?
Yes, you can use a tiny amount of neutral coconut oil instead. You only need enough to lightly coat the skillet.
2. Do I need a kitchen torch?
No, not for this version. The skillet does all the work and gives you lovely toasted color.
3. Can I use regular marshmallows?
Yes, technically you can, but this version is written with vegan marshmallows for consistency and diet classification.
4. Why did my topping turn too dark too fast?
Your heat was likely a bit too high. Lower it and let the color develop more slowly.
5. Can I make one large sheet and break it up?
Yes, but separate pieces are easier to control and usually look neater on the dessert.
6. What desserts pair best with this?
Creamy desserts are the best match, especially ice cream, mousse, pudding, and cheesecake.
7. How long does it stay crisp?
It is best the day it is made. Humidity can soften it over time.
8. Can I store it in the fridge?
It is better not to. The fridge can introduce moisture and take away the crisp texture.
9. Is the sea salt necessary?
No, but it really helps balance the sweetness and make the flavor pop.
10. Can kids help make this?
They can help with plating and sprinkling the salt, but an adult should handle the hot skillet and lifting step.
Conclusion
This sweet little topping proves that a simple ingredient can turn into something surprisingly elegant with just a bit of heat and timing. It is crisp, glossy, playful, and exactly the kind of finishing touch that makes dessert feel a little more exciting. Trust me, once you hear that delicate crackle over a cold, creamy dessert, you’ll want to make it again and again.
Print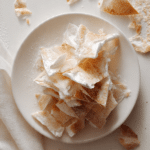
Marshmallow “Michelin” Dessert Topping
- Prep Time: 5 minutes
- Cook Time: 8 minutes
- Total Time: 13 minutes
- Yield: 4 servings 1x
- Category: Dessert
- Method: Skillet
- Cuisine: Modern
- Diet: Vegan
Description
A quick and elegant dessert topping made by toasting vegan marshmallows in a skillet until golden and crisp, then finishing them with a pinch of flaky sea salt for a fancy-looking sweet crunch.
Ingredients
- 10 large vegan marshmallows
- 1 teaspoon vegan butter
- 1 pinch flaky sea salt
Instructions
- Place a nonstick skillet over low to medium-low heat for about 1 minute and lightly brush the surface with the vegan butter.
- Arrange the vegan marshmallows in a single layer in the skillet, leaving space between them so they can spread.
- Let the marshmallows melt undisturbed for 2 to 3 minutes, then gently nudge them if needed so they stay separate.
- Continue cooking for 1 to 2 more minutes until the bottoms and edges are deeply golden and lacy.
- Carefully slide a thin spatula under each marshmallow round and transfer them to a plate or parchment-lined tray.
- Cool for 20 to 30 seconds, just until flexible, then leave them flat or break them into shards.
- Sprinkle with the flaky sea salt and use immediately over ice cream, mousse, pudding, or cheesecake.
Notes
- Use low to medium-low heat so the marshmallows caramelize instead of burning.
- For best texture, garnish desserts just before serving.
- Store cooled shards in a single layer in an airtight container at room temperature for up to 1 day.
Nutrition
- Serving Size: 1/4 recipe
- Calories: 58
- Sugar: 9g
- Sodium: 29mg
- Fat: 1g
- Saturated Fat: 0.5g
- Unsaturated Fat: 0.4g
- Trans Fat: 0g
- Carbohydrates: 12g
- Fiber: 0g
- Protein: 0g
- Cholesterol: 0mg
Keywords: marshmallow dessert topping, vegan marshmallow shards, crispy dessert garnish, toasted marshmallow topping, easy plated dessert garnish