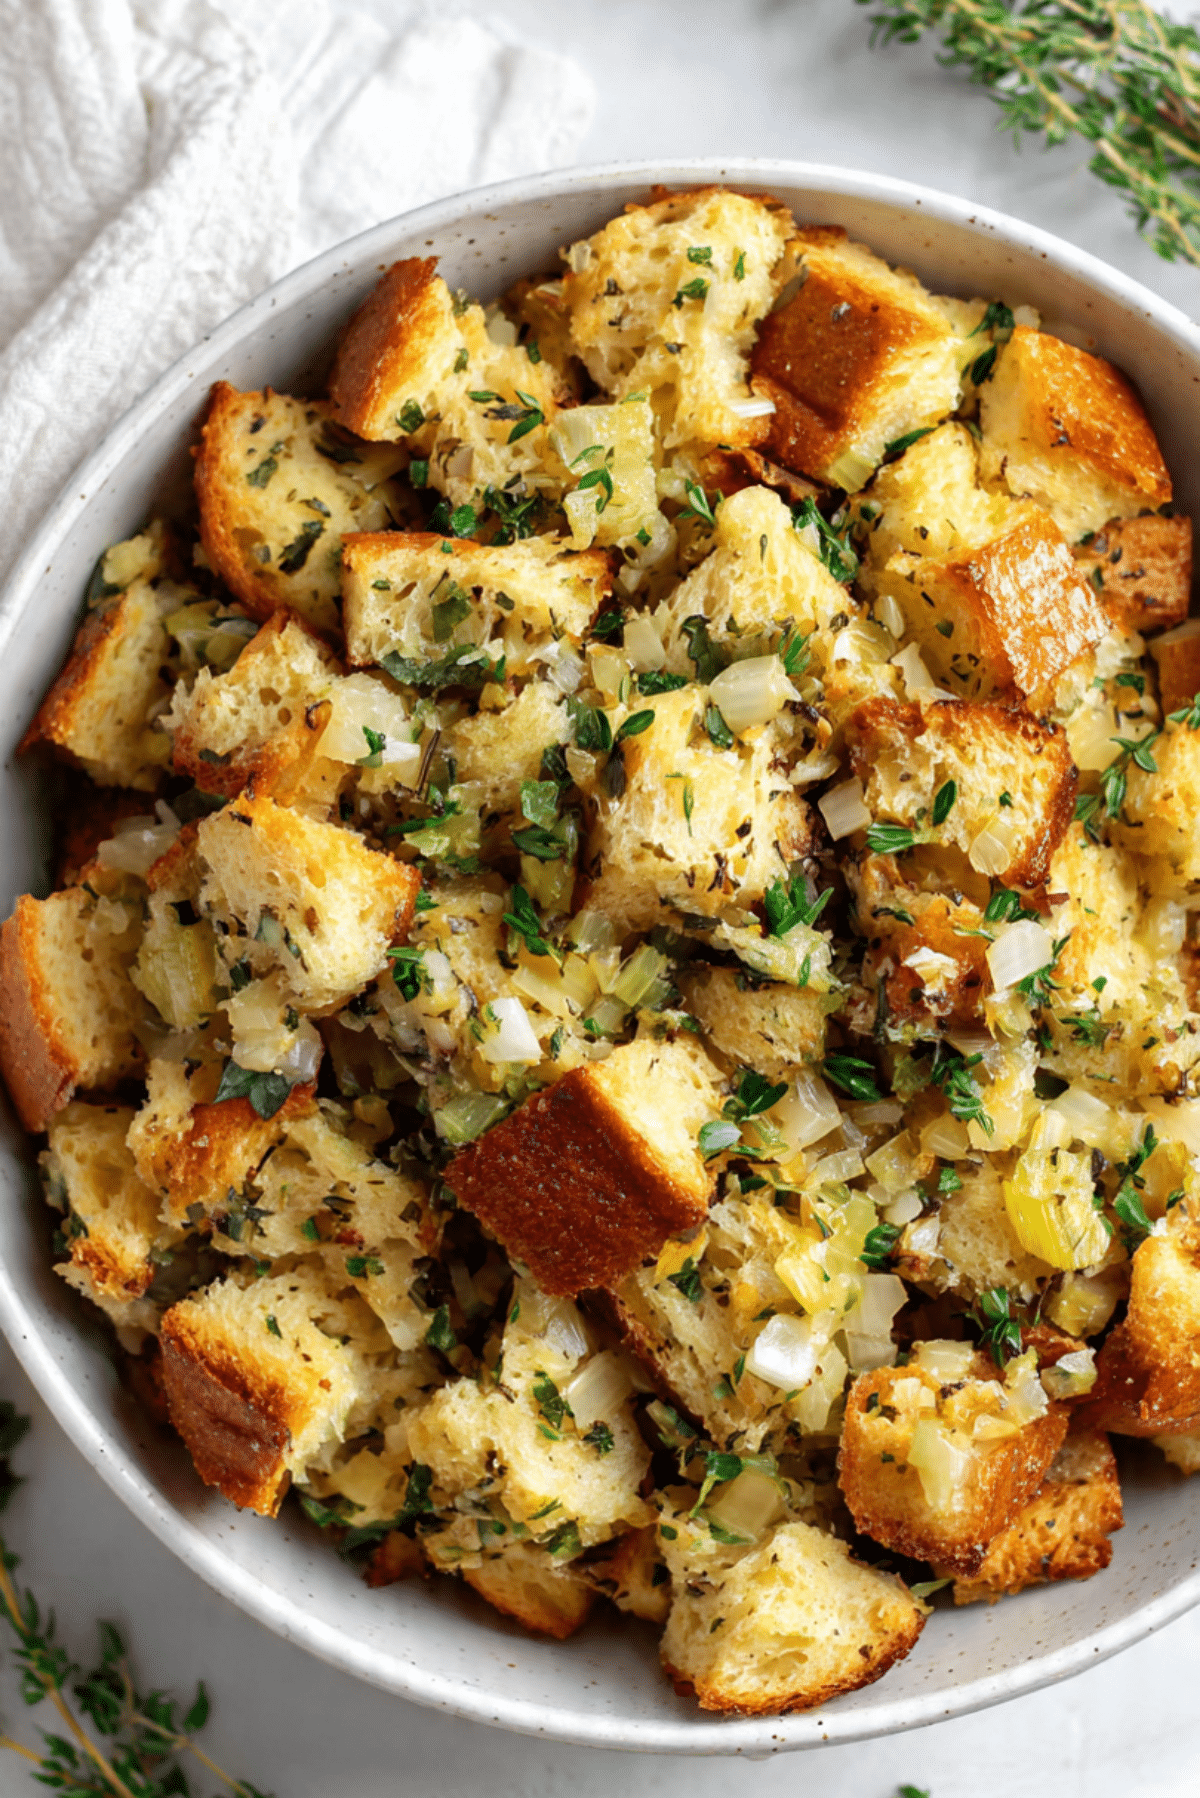
Buttery Herb Stuffing
There is something about the smell of warm bread, melted butter, and fresh herbs that instantly feels like home. As this dish bakes, the kitchen fills with a rich, comforting aroma that makes everyone wander in, asking when it will be ready. It is golden on top, soft in the center, and packed with flavor in every bite. Trust me, you are going to love this one.
Why This Dish Always Steals the Spotlight
It starts simple, just bread, butter, and herbs, but somehow it turns into something unforgettable. The crispy edges give way to a soft, savory center, and every forkful feels balanced and satisfying. This one is a total game changer when you want something cozy, hearty, and full of flavor.
A Little Story Behind This Classic Comfort Dish
Stuffing has been around for centuries, often served during festive gatherings and family meals. It began as a practical way to use up stale bread, but over time it became a beloved side dish in its own right. Different regions have their own twist, some add dried fruits, others lean into herbs, but the heart of it always stays the same, warm, rich, and comforting.
Why You Can Always Count on This Recipe
This is one of those recipes that just works every time, and now let me tell you why it deserves a spot in your kitchen.
Versatile: You can serve it alongside roasted meals or enjoy it on its own, it fits into almost any menu.
Budget-Friendly: Simple ingredients like bread and herbs come together to create something that feels special without costing much.
Quick and Easy: The steps are straightforward, and once it is in the oven, it practically takes care of itself.
Customizable: You can adjust the herbs or add extras to match your taste.
Crowd-Pleasing: Everyone loves that mix of crispy and soft textures.
Make-Ahead Friendly: You can prepare it earlier and bake when needed.
Great for Leftovers: It reheats beautifully and keeps its flavor.
Pro Tips That Make a Big Difference
Before we move into the kitchen, here are a few small tricks that really elevate the final result.
- Use slightly stale bread, it absorbs the flavors better without becoming mushy
- Toast the bread cubes lightly for extra texture
- Do not skip fresh herbs, they bring brightness and depth
- Warm the broth before mixing, it helps everything combine evenly
Tools That Make It All Easier
Having the right tools keeps things smooth and enjoyable.
Mixing Bowl: For combining all the ingredients evenly
Large Skillet: Perfect for sautéing vegetables in butter
Baking Dish: Holds everything together while baking
Wooden Spoon: Helps gently mix without breaking the bread
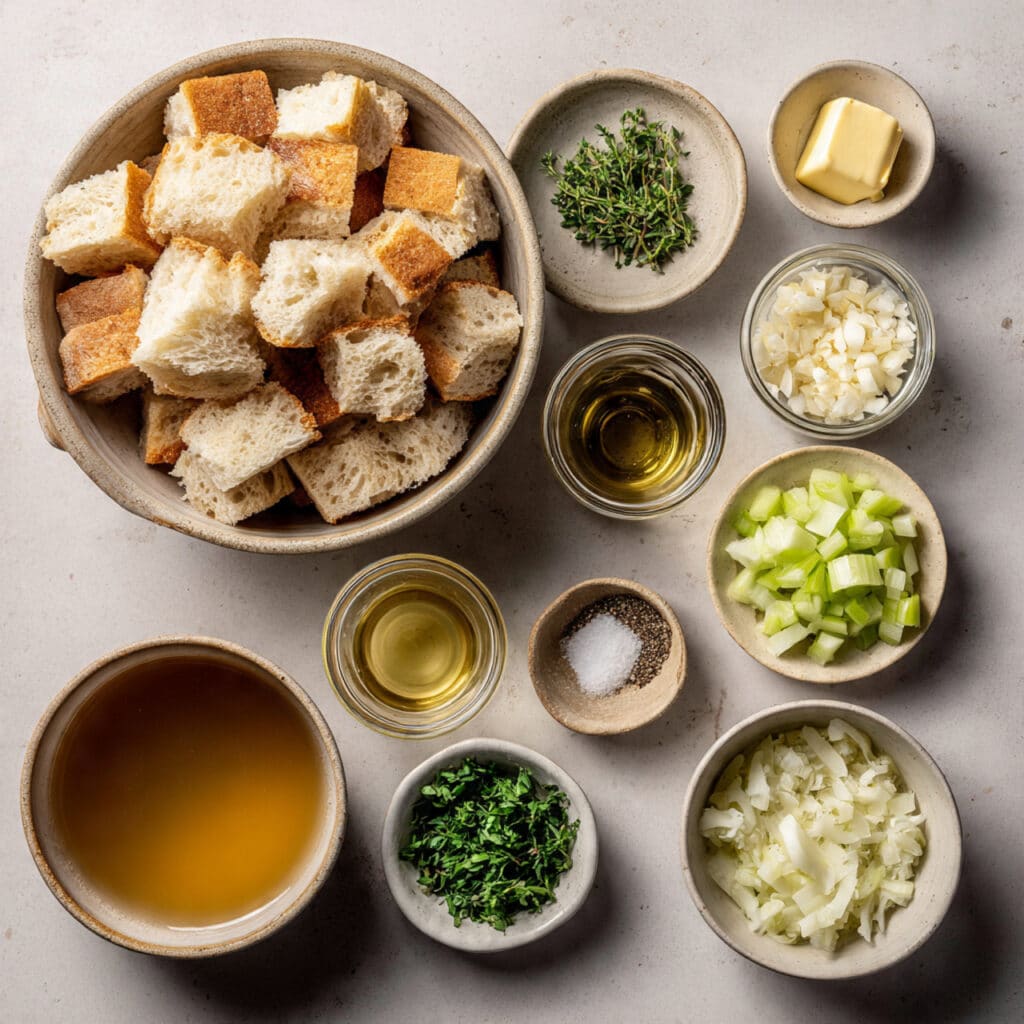
Ingredients That Build the Flavor
Everything comes together here, simple ingredients working in harmony to create something rich and satisfying.
- Day-Old Bread Cubes: 6 cups, they soak up flavor while keeping structure
- Unsalted Butter: 1/2 cup, melted, adds richness and moisture
- Onion: 1 cup, finely chopped, brings sweetness and depth
- Celery: 1 cup, chopped, adds freshness and slight crunch
- Garlic: 3 cloves, minced, gives a savory kick
- Fresh Parsley: 1/4 cup, chopped, adds brightness
- Fresh Thyme: 1 tablespoon, finely chopped, brings earthy flavor
- Chicken Broth: 2 cups, warms and binds everything together
- Salt: 1 teaspoon, enhances all flavors
- Black Pepper: 1/2 teaspoon, adds gentle heat
Easy Swaps If You Need Them
Sometimes you need to adjust, and that is completely fine.
Chicken Broth: Vegetable broth works just as well
Butter: You can use a plant-based alternative
Parsley: Try cilantro for a different flavor
Thyme: Rosemary or sage can be used instead
The Stars of the Dish
Let’s take a moment to appreciate what really makes this dish shine.
Butter: It coats every piece of bread, giving richness and helping create that golden crust.
Fresh Herbs: They bring a fragrant, earthy freshness that balances the richness perfectly.
Let’s Get Cooking Together
Now comes the fun part, and honestly, this is where everything starts to come alive.
- Preheat Your Equipment: Set your oven to 180°C and let it warm up while you prepare everything.
- Combine Ingredients: In a large bowl, add the bread cubes along with parsley and thyme, gently mixing to distribute the herbs.
- Prepare Your Cooking Vessel: Melt the butter in a skillet, then sauté onion, celery, and garlic until soft and fragrant.
- Assemble the Dish: Pour the sautéed mixture over the bread, then add warm broth, salt, and pepper. Toss gently until everything is evenly coated.
- Cook to Perfection: Transfer to a baking dish and bake for 35 minutes until the top is golden and slightly crisp.
- Finishing Touches: Let it rest for a few minutes after baking so the flavors settle and the texture firms up slightly.
- Serve and Enjoy: Scoop it warm onto plates and enjoy that perfect balance of crisp and soft textures.
The Magic of Texture and Flavor
As it bakes, the top turns beautifully golden while the inside stays soft and flavorful. The butter melts into every bite, while the herbs release their aroma, creating a dish that feels both rich and fresh at the same time. It is that contrast that makes every bite exciting.
Helpful Tips for Even Better Results
A few extra touches can make a noticeable difference.
- Use a mix of bread types for deeper flavor
- Do not overmix, keep the bread structure intact
- Add a splash more broth if it looks too dry
What to Watch Out For While Cooking
Even simple recipes have their little pitfalls, so here is what to avoid.
- Adding too much liquid, which can make it soggy
- Skipping the sauté step, which builds flavor
- Baking too long, which can dry it out
Nutrition Snapshot
Servings: 6
Calories per serving: 280
Note: These are approximate values.
Timing Breakdown
Prep Time: 15 minutes
Cook Time: 35 minutes
Total Time: 50 minutes
Make It Ahead and Store It Smart
You can assemble everything ahead of time and keep it in the fridge until ready to bake. Once cooked, store leftovers in an airtight container for up to three days. Reheat in the oven to bring back that crispy top.
How to Serve It for Maximum Enjoyment
Serve it alongside roasted vegetables or a hearty main dish. It also works beautifully as a comforting standalone bowl when you want something simple yet satisfying.
Turn Leftovers Into Something New
Leftover stuffing can be transformed into crispy patties or used as a filling for wraps. It even makes a great base for a quick savory breakfast.
Extra Tips You Will Appreciate
Keep your herbs fresh, and do not rush the baking process. Let the top get that golden color, it is worth the wait.
Make It Look as Good as It Tastes
Serve it in a rustic dish, sprinkle a bit of fresh parsley on top, and let that golden crust shine. Presentation makes it even more inviting.
Fun Variations to Try
Try adding mushrooms for an earthy twist, or mix in dried cranberries for a hint of sweetness. You can also experiment with different herbs to create your own version.
FAQ’s
Q1: Can I use fresh bread instead of stale?
Yes, but lightly toast it first for better texture.
Q2: Can I make it vegetarian?
Absolutely, just use vegetable broth.
Q3: How do I keep it from drying out?
Add a bit more broth and cover during part of baking if needed.
Q4: Can I freeze it?
Yes, freeze after baking and reheat when needed.
Q5: What herbs work best?
Parsley and thyme are classic, but sage is also great.
Q6: Can I add protein?
You can mix in cooked plant-based protein if desired.
Q7: How do I get a crispier top?
Bake uncovered for the last few minutes.
Q8: Can I prepare it the night before?
Yes, assemble and refrigerate, then bake when ready.
Q9: What type of bread is best?
A sturdy loaf like rustic white or sourdough works well.
Q10: How long does it last?
Up to three days in the fridge.
Conclusion
This dish brings warmth, comfort, and that homemade feeling to any table. It is simple, reliable, and full of flavor in every bite. Let me tell you, it is worth every bite, and once you make it, it might just become your go to favorite.
Print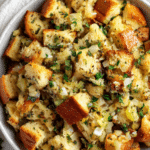
Buttery Herb Stuffing
- Prep Time: 15 minutes
- Cook Time: 35 minutes
- Total Time: 50 minutes
- Yield: 6 servings 1x
- Category: Side Dish
- Method: Baking
- Cuisine: American
- Diet: Low Lactose
Description
A warm and comforting buttery herb stuffing with golden crispy edges and a soft, flavorful center, packed with fresh herbs and savory goodness.
Ingredients
- 6 cups day-old bread cubes
- 1/2 cup unsalted butter, melted
- 1 cup finely chopped onion
- 1 cup chopped celery
- 3 cloves garlic, minced
- 1/4 cup fresh parsley, chopped
- 1 tablespoon fresh thyme, finely chopped
- 2 cups chicken broth
- 1 teaspoon salt
- 1/2 teaspoon black pepper
Instructions
- Preheat oven to 180°C.
- In a large bowl, combine bread cubes with parsley and thyme.
- In a skillet, melt butter and sauté onion, celery, and garlic until soft and fragrant.
- Pour sautéed mixture over bread, add warm broth, salt, and pepper, then toss gently to combine.
- Transfer mixture to a baking dish and spread evenly.
- Bake for 35 minutes until the top is golden and slightly crisp.
- Let rest for a few minutes before serving, then enjoy warm.
Notes
- Use slightly stale or toasted bread for best texture
- Do not overmix to keep bread cubes intact
- Add extra broth if mixture feels too dry before baking
- Fresh herbs give the best flavor, avoid dried if possible
Nutrition
- Serving Size: 1 serving
- Calories: 280
- Sugar: 3g
- Sodium: 480mg
- Fat: 14g
- Saturated Fat: 8g
- Unsaturated Fat: 5g
- Trans Fat: 0g
- Carbohydrates: 32g
- Fiber: 2g
- Protein: 6g
- Cholesterol: 35mg
Keywords: buttery herb stuffing, classic stuffing recipe, easy stuffing, holiday side dish, herb bread stuffing