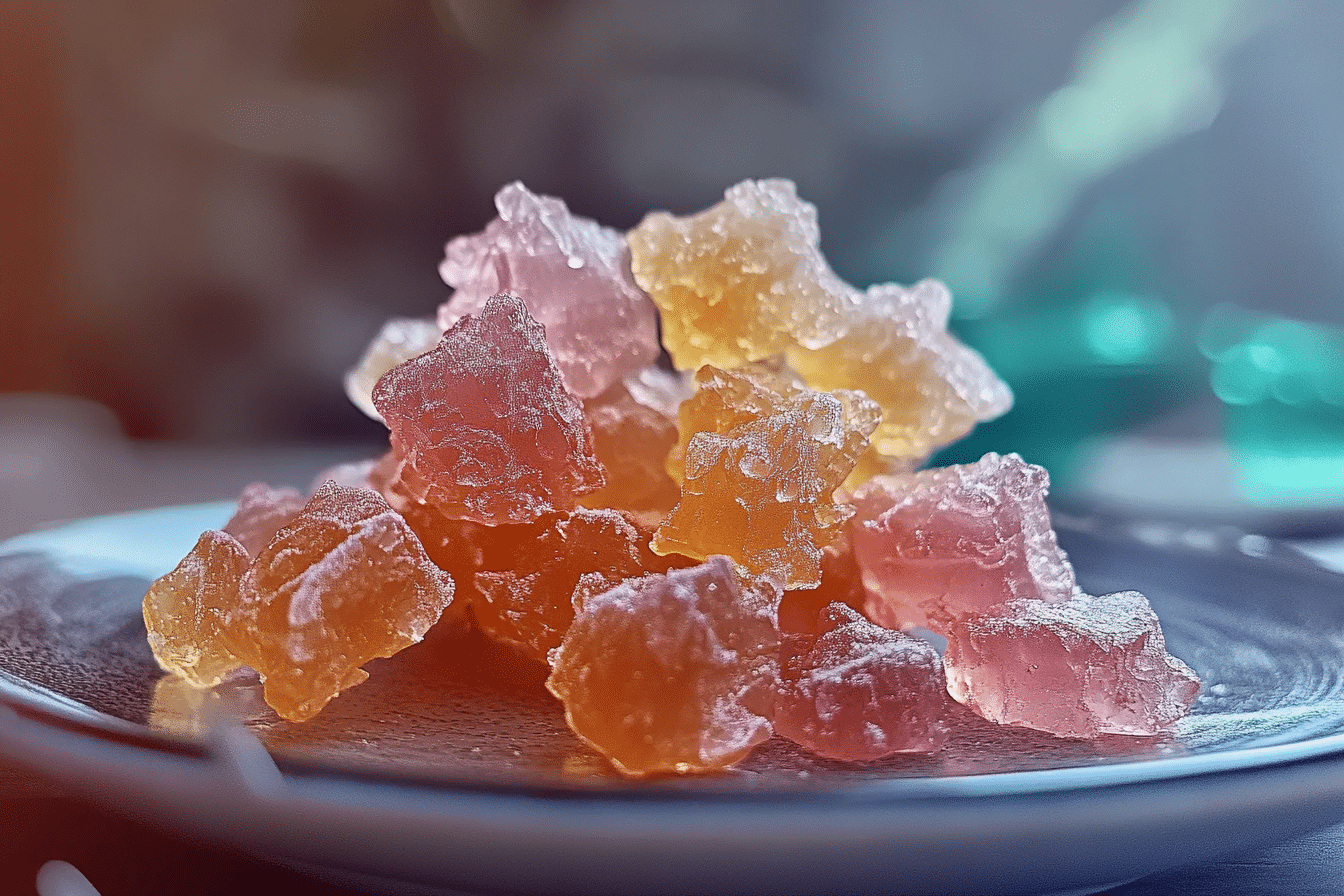
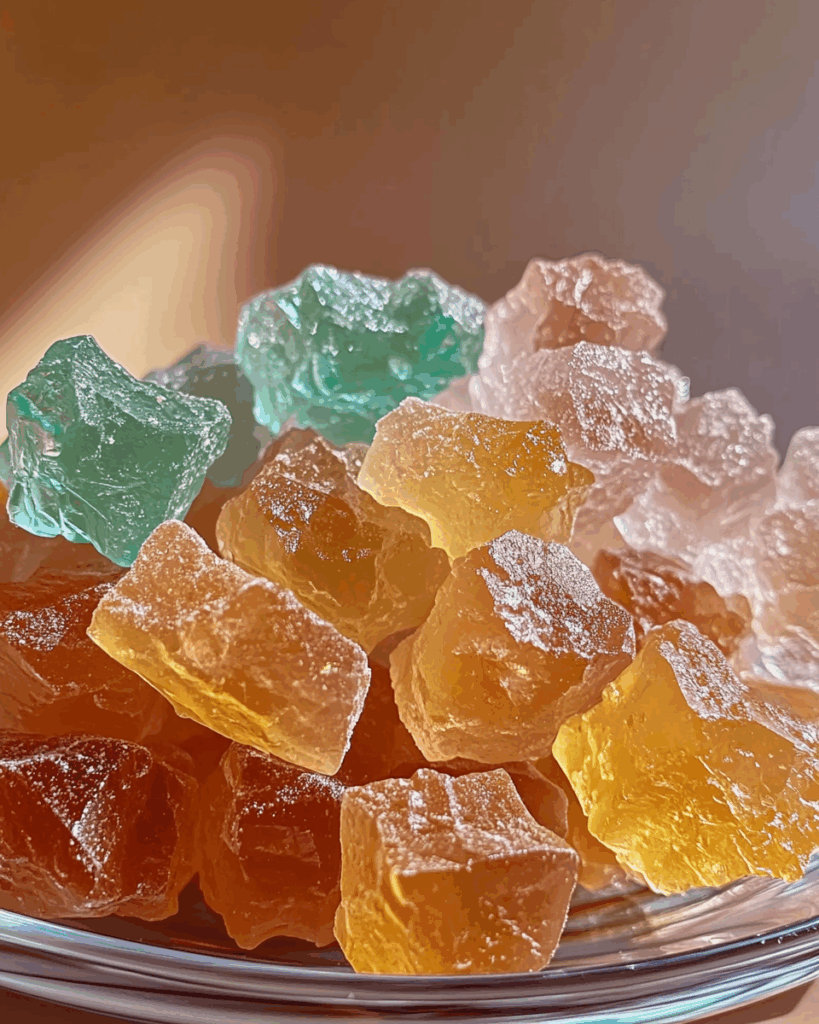
Homemade Rock Candy
Let’s get a little nostalgic, shall we? Homemade Rock Candy isn’t just a recipe it’s an experience. Think science experiment meets sweet tooth satisfaction, with a touch of magic. Watching those dazzling sugar crystals grow day by day? It’s like edible art! Whether you’re making this with kids, surprising guests with something whimsical, or just treating your inner child, this recipe is all about fun, flavor, and a pop of sparkle. Trust me, it’s impossible not to smile when you see those candy crystals twinkle in the light.
Why You’ll Love Homemade Rock Candy
This recipe isn’t just about the ingredients it’s about creating moments. Whether you’re cooking for a casual family dinner, hosting a get-together with friends, or simply indulging in some comforting flavors for yourself, this dish is versatile enough to fit the occasion. Here’s why it’s a favorite:
Versatile: Make it any color, flavor, or shape you like great for parties, gifts, or science fairs.
Budget-Friendly: Uses only a handful of basic ingredients you likely already have.
Quick and Easy: The prep takes minutes, and the rest is just letting it do its thing.
Customizable: Pick your favorite colors and flavors for a personalized sweet treat.
Crowd-Pleasing: A guaranteed hit with both kids and adults. It’s always a win when a single dish can satisfy everyone at the table. This recipe strikes the perfect balance of flavor and comfort, making it a universal favorite.
Ingredients in Homemade Rock Candy
These humble ingredients come together to make something pretty spectacular:
Granulated Sugar: The star of the show. As it cools and settles, it transforms into beautiful crystals.
Water: Helps dissolve the sugar to make a supersaturated solution.
Food Coloring: Adds a pop of personality and flair choose any color you like!
Flavor Extract (optional): For a burst of flavor like cherry, orange, or peppermint.
Wooden Skewers or Strings: The crystal-growing foundation. Think of them as the candy’s stage.
(Note: the full ingredients list, including measurements, is provided in the recipe card directly below.)
Instructions
Let’s dive into the steps to create this flavorful masterpiece:
Prepare the Skewers: Dip your wooden skewers in water and roll them in sugar. Let them dry completely. This gives the crystals a base to cling to as they grow.
Make the Sugar Solution: In a saucepan over medium heat, stir together sugar and water. Keep stirring until the sugar is completely dissolved and the mixture reaches a gentle boil. You’re creating a supersaturated solution that’s the secret to growing crystals!
Add Color and Flavor: Remove the saucepan from heat and stir in food coloring and flavor extract, if using. Let the mixture cool slightly just enough so it’s safe to pour.
Set Up Your Jars: Pour the sugar mixture into clean glass jars. Suspend one sugared skewer into each jar, making sure it doesn’t touch the sides or bottom. Use clothespins to balance the sticks across the jar opening.
Let It Crystallize: Place the jars in a cool, undisturbed spot. Watch as crystals begin forming within a few hours, and let them grow for 5–7 days.
Remove and Dry: Once the candy has grown to your liking, remove the skewers and let them dry completely on a piece of wax paper.
Nutrition Facts
Servings: 10 sticks
Calories per serving: Approximately 100
(Note: based on average-sized sticks with minimal added flavoring.)
Preparation Time
Prep Time: 15 minutes
Cook Time: 10 minutes
Total Time: 25 minutes + 5–7 days for crystallization
How to Serve Homemade Rock Candy
This dish pairs wonderfully with various sides and accompaniments. Here are a few serving suggestions to enhance your dining experience:
Pop them into goodie bags for parties or events.
Use as drink stirrers for lemonade, iced tea, or cocktails.
Display them in a glass jar as an edible centerpiece.
Gift them in little boxes with ribbon for a sweet homemade touch.
Additional Tips
Here are some extra tips to help you get the most out of this recipe:
Use glass jars with tall, straight sides for best crystal growth.
Make sure your skewers don’t touch the jar sides to avoid uneven crystals.
Don’t rush the drying time for your sugared skewers it’s key!
Experiment with natural dyes or extracts for fun variations.
Store in a dry, cool place to prevent the candy from getting sticky.
FAQ’s
1. Why isn’t my rock candy growing?
Crystals need time and a stable environment. Make sure the jar is undisturbed and your solution was fully saturated.
2. Can I use string instead of wooden skewers?
Yes! Just tie one end to a pencil or stick and suspend it in the jar.
3. How long does rock candy last?
When stored properly, it can last for several weeks to months.
4. Can I use natural food coloring?
Absolutely beet juice, turmeric, and spirulina work well for light colors.
5. Can I reuse the leftover sugar solution?
Not really. Once it’s cooled and started to crystallize, it won’t grow more crystals effectively.
6. What’s the best flavoring to use?
That’s up to you! Peppermint, vanilla, or fruity extracts like cherry or orange are popular choices.
7. Is it okay if the crystals touch the bottom of the jar?
It’s best to avoid this so they grow evenly along the stick.
8. Can I speed up the crystal growth?
Unfortunately, no rushing the process can disrupt crystal formation.
9. Can I make multicolored candy?
You can try layering colors, but it works best to make separate batches.
10. Can kids help make this?
Definitely just supervise during the hot sugar solution step!
Conclusion
Homemade Rock Candy is one of those sweet little recipes that brings joy, color, and a dash of magic to the kitchen. It’s creative, rewarding, and let’s be real just plain fun to make and eat. Whether you’re crafting it with kids, gifting it to a friend, or just indulging in your inner candy maker, these glittery sticks of sweetness are bound to bring smiles. So go ahead, stir up a little wonder, and let the crystals do their thing!
Print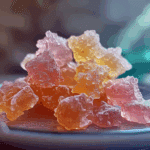
Homemade Rock Candy
- Prep Time: 30 minutes
- Cook Time: 10 minutes
- Total Time: 7 days (including growth time)
- Yield: 6 rock candy sticks 1x
- Category: Candy
- Method: Crystallization
- Cuisine: American
- Diet: Vegetarian
Description
Homemade Rock Candy is a fun and educational treat made by growing sugar crystals on sticks or strings. Perfect for science experiments or colorful party favors, these sweet candies are as beautiful as they are tasty.
Ingredients
- 2 cups water
- 6 cups granulated sugar (plus more for seeding)
- Food coloring (optional)
- Flavoring extract (optional, such as vanilla, peppermint, or lemon)
- Wooden skewers or string
- Clothespins or clips
- Glass jars
Instructions
- Bring the water to a boil in a saucepan. Slowly add the sugar, stirring continuously until it’s fully dissolved and the solution is clear.
- Once the sugar is fully dissolved, remove from heat. Add food coloring and flavoring extract if desired. Let the mixture cool for about 15–20 minutes.
- Wet the skewers or strings and roll them in dry sugar to seed the surface. Let dry for a few minutes.
- Pour the sugar solution into glass jars. Suspend the sugar-coated skewer or string into the jar using a clothespin balanced across the top so that it doesn’t touch the sides or bottom.
- Place the jars in a cool, undisturbed area. Crystals will begin to form in 3–7 days.
- Once the desired size is reached, remove the rock candy and let it dry for a few hours on wax paper.
Notes
- Make sure the skewer or string doesn’t touch the sides or bottom of the jar to allow crystals to grow evenly.
- The longer you let the crystals grow, the larger they will be.
- Use different food coloring to create a variety of colors for a vibrant display.
Nutrition
- Serving Size: 1 stick
- Calories: 150
- Sugar: 38g
- Sodium: 0mg
- Fat: 0g
- Saturated Fat: 0g
- Unsaturated Fat: 0g
- Trans Fat: 0g
- Carbohydrates: 38g
- Fiber: 0g
- Protein: 0g
- Cholesterol: 0mg
Keywords: rock candy, homemade candy, sugar crystals, science experiment candy, DIY sweets